One thing I have always wanted to try was brewing my own beer. It seemed like a good COVID project (we’ve certainly been drinking enough of it!), so we bought all the gear needed to make our first batch and try our hands at it.
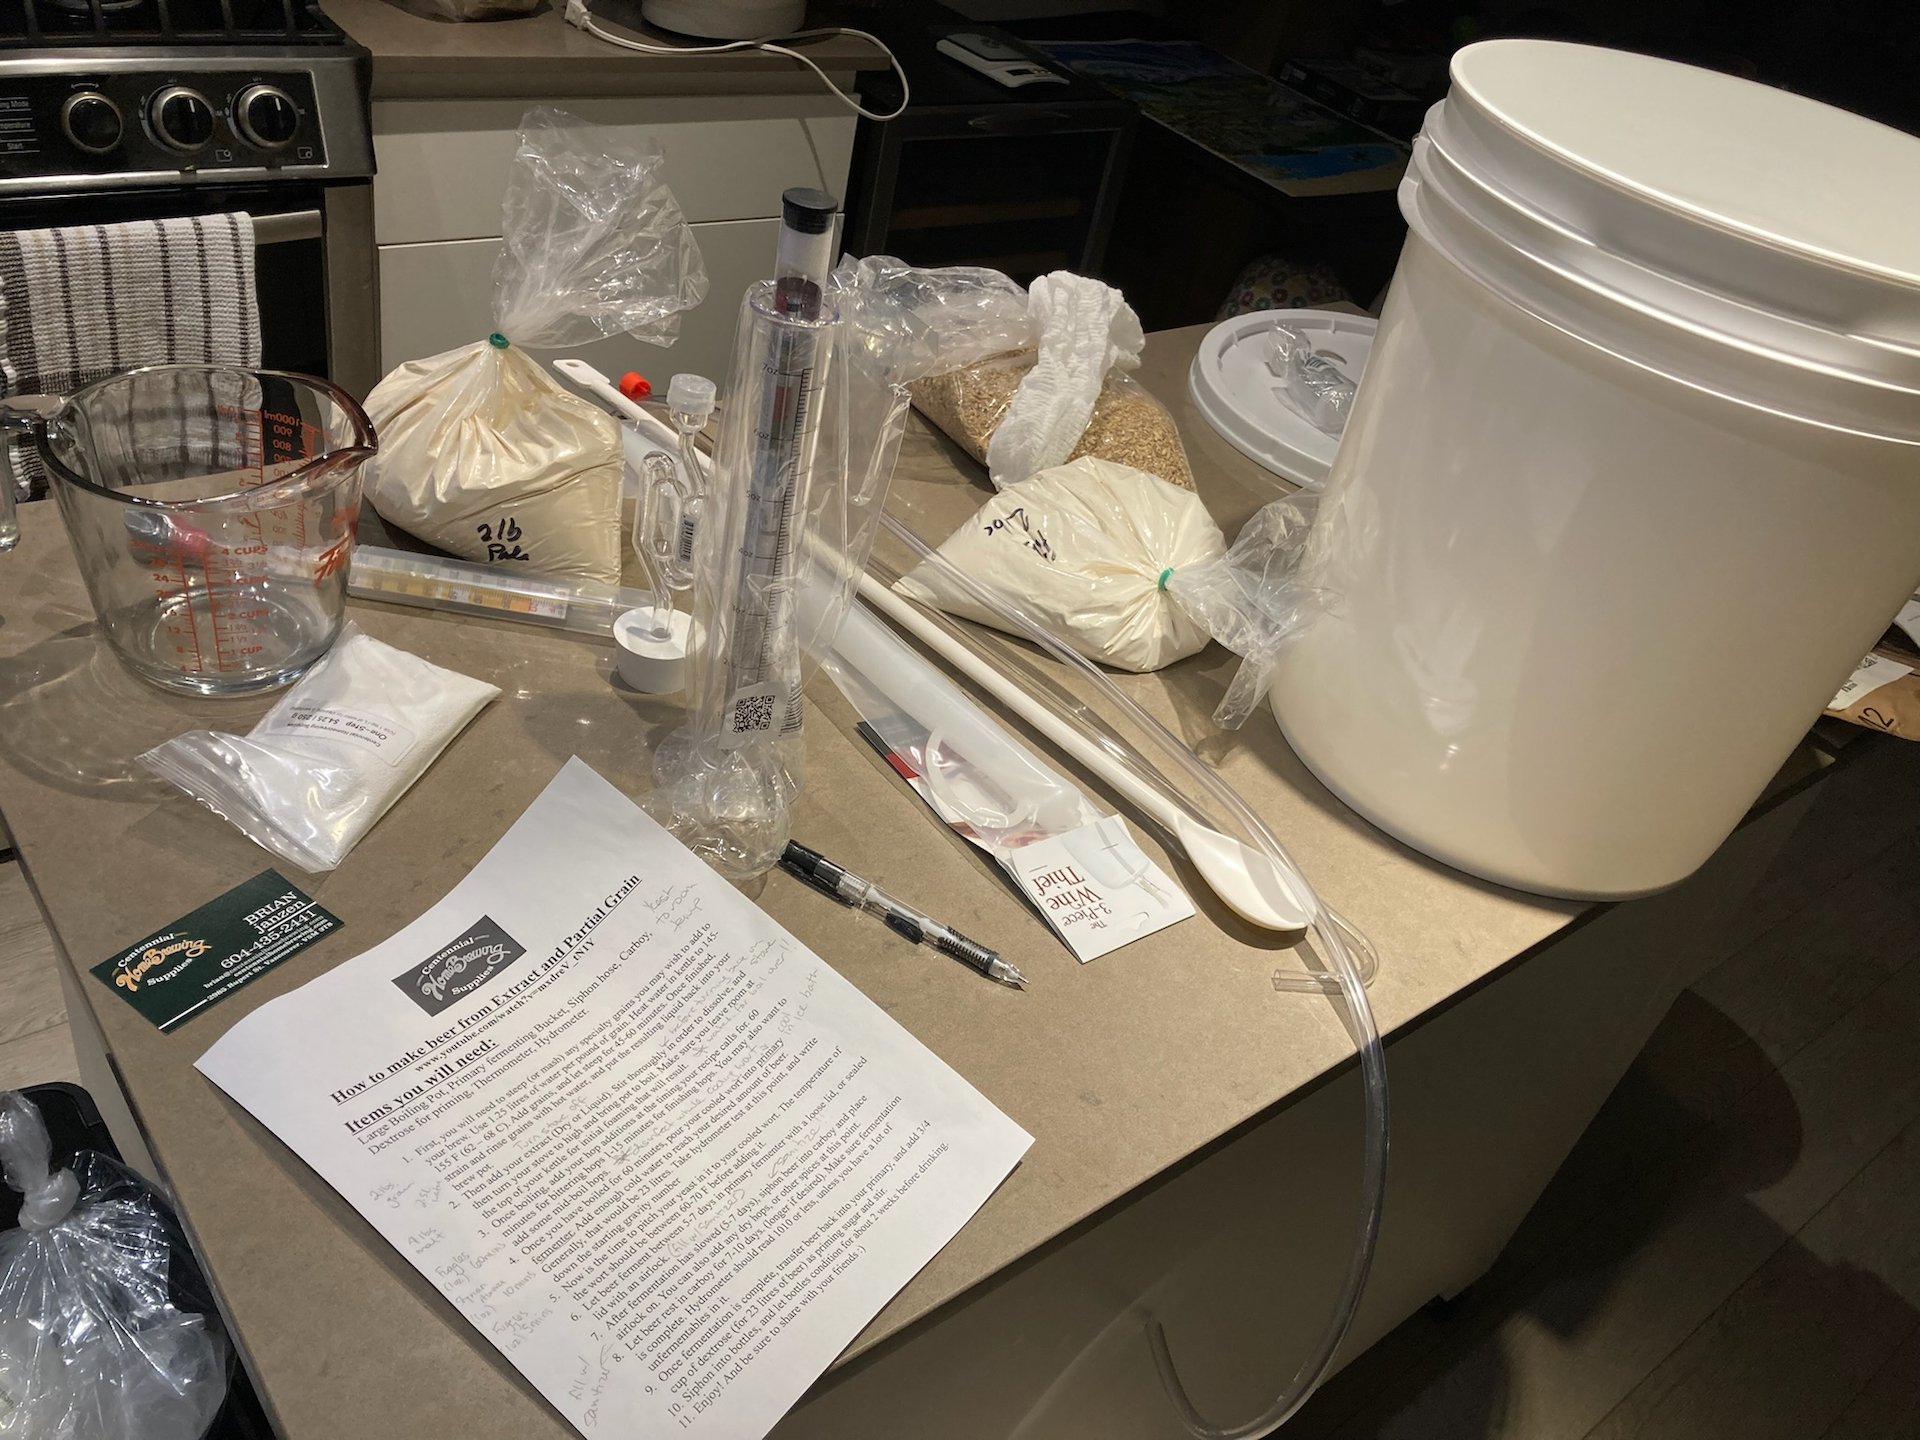
Earlier this spring, we headed over to one of the local homebrew supply stores. We purchased all the gear we needed, along with the ingredients to make our first beer. We picked a saison, as it seemed like a good type that we’d both like. We purchased the various tools of the trade - big buckets, carboy, tubes and siphons, bottles and a capping tool. It was a lot of kit, but not too much of an investment.
Let the brewing experiment begin!
The ingredients - some grains, malt, yeast and hops were surprisingly inexpensive, so now that the sunk costs are in, our batch costs are going to be very low.
Some of the initial ingredients ready to go.
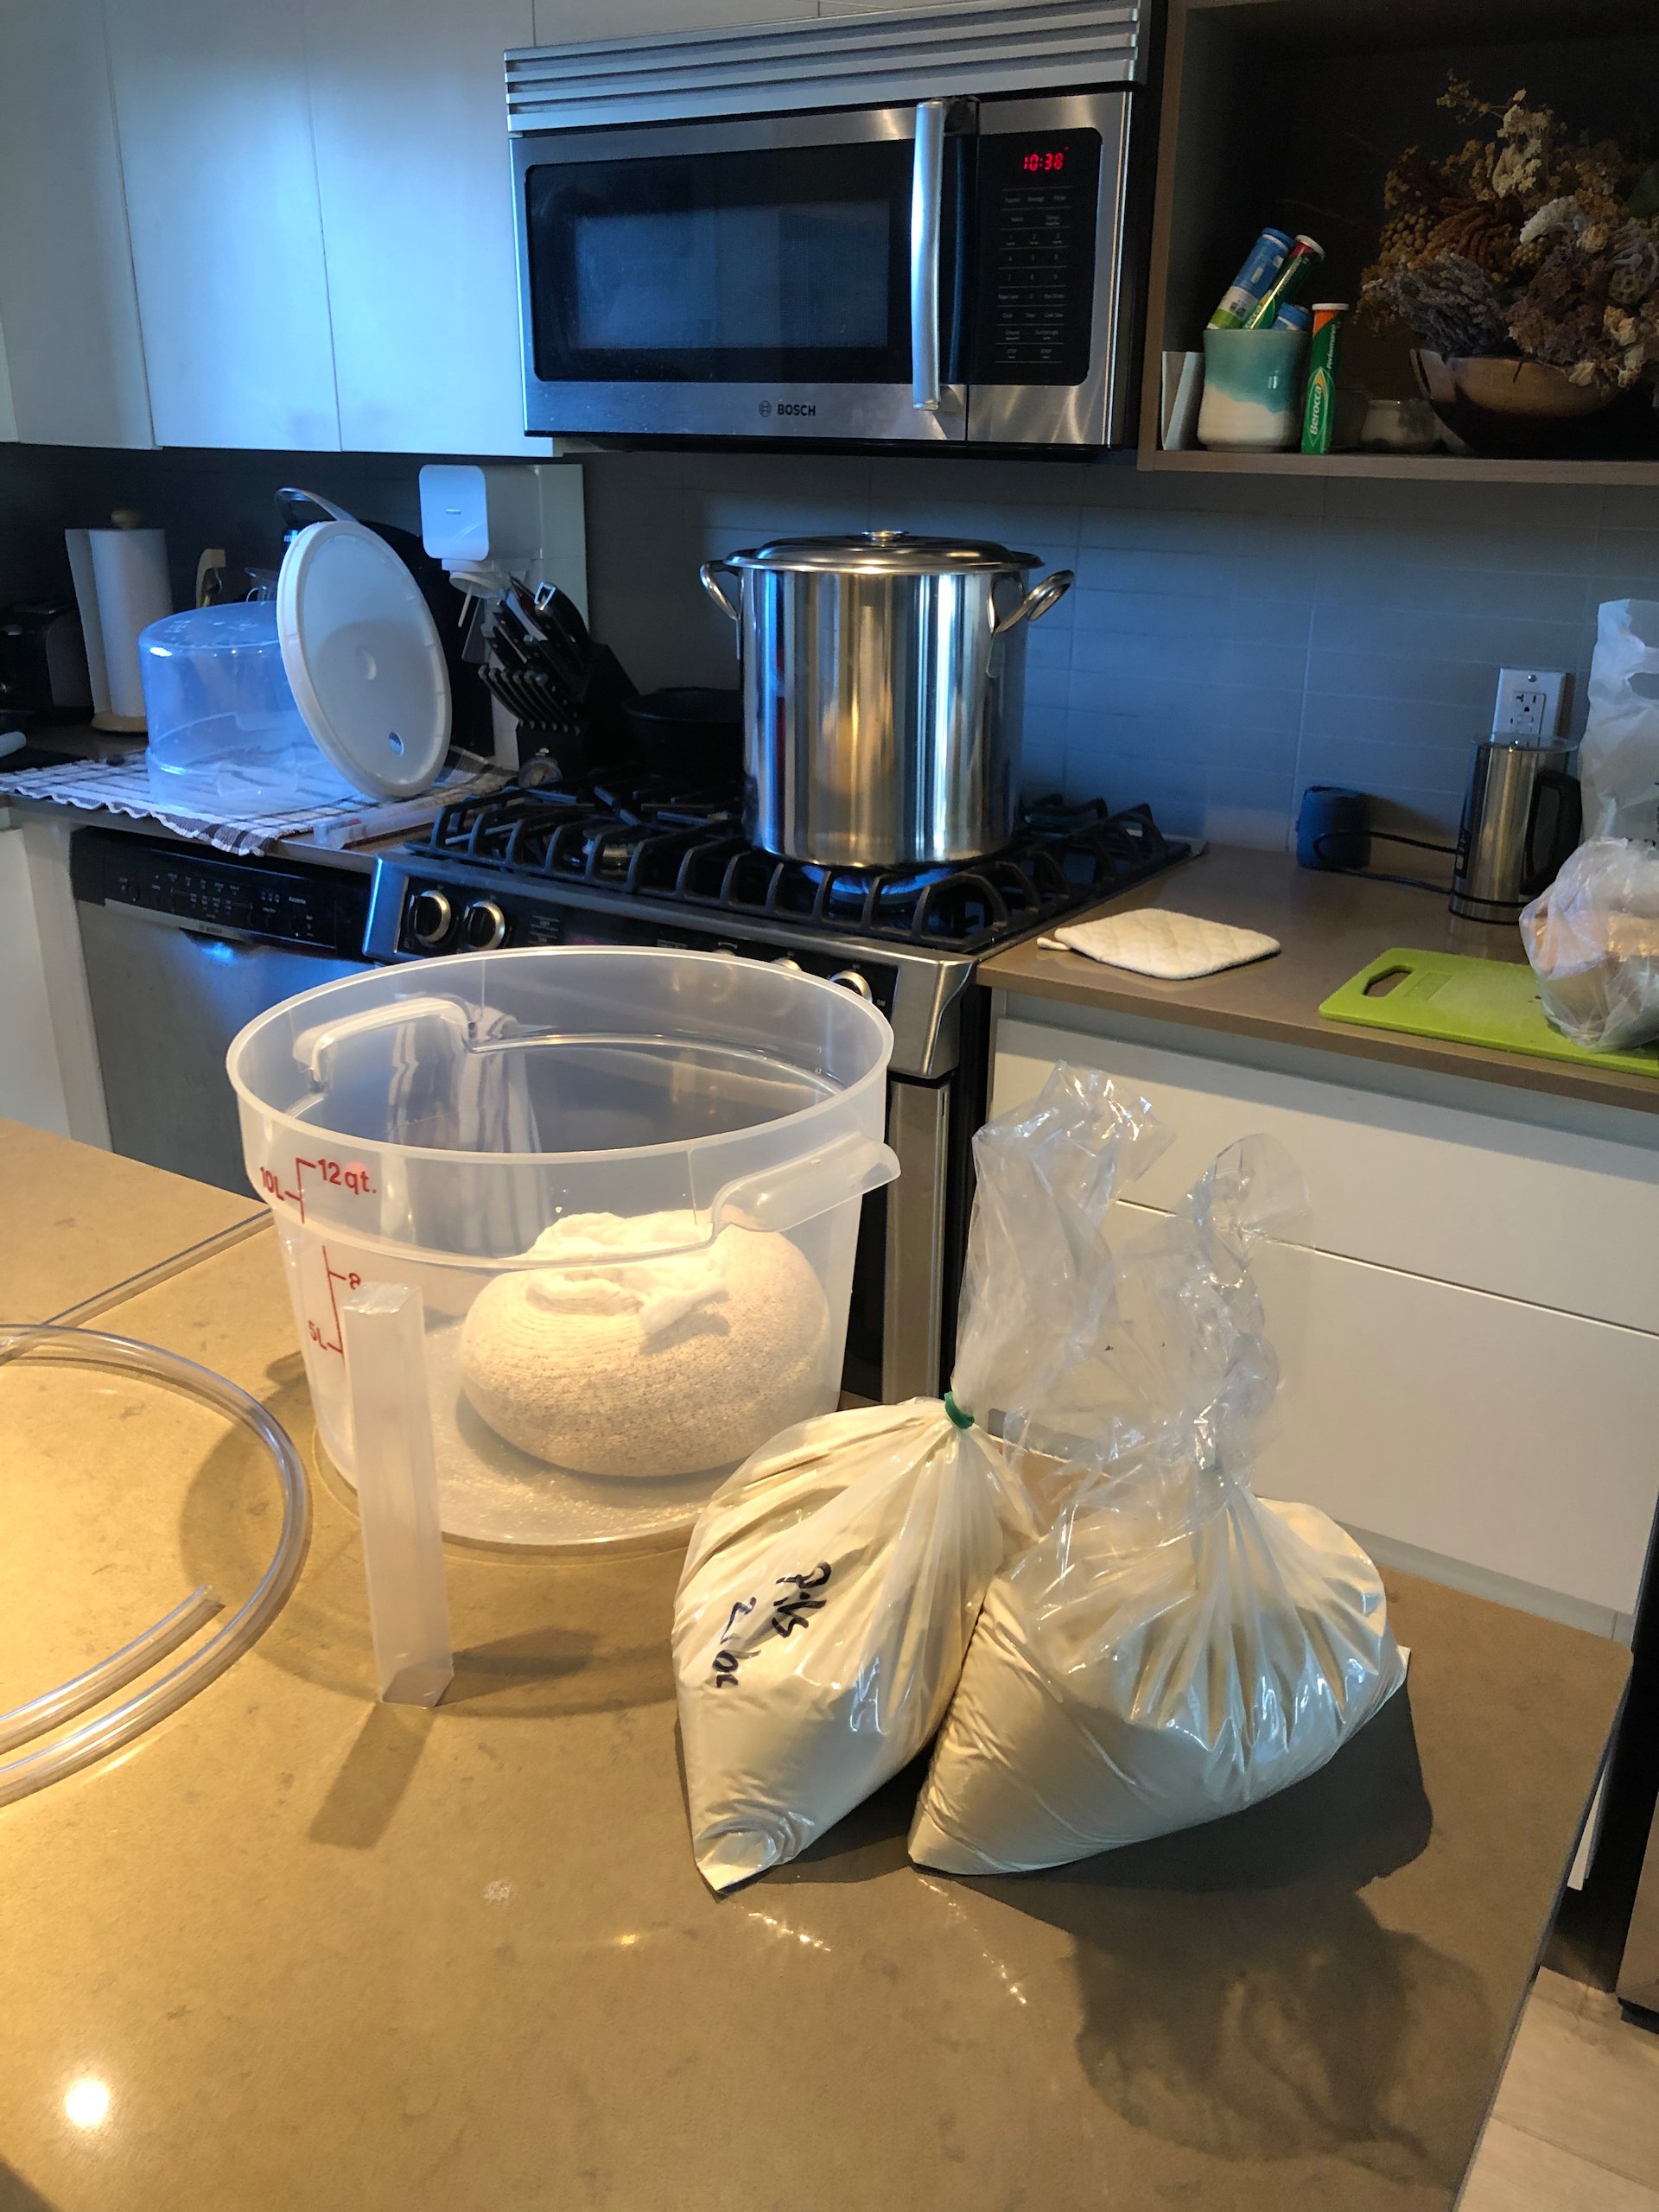
We had some instructions from the supply shop and watched a bunch of videos on YouTube to make sure we had a sense of what to do. What did we ever do before YouTube? The initial process was pretty easy - pack the grains into a mesh bag and boil them for an hour. We added the malt and cooked a bit longer.
The bigger effort wa sterilizing all the gear. I didn’t realize how important this part of the process is. We tried to be very clean and make sure everything that touches the work-in-progress beer was properly sterilized. I think we did well.

So much sterilization.
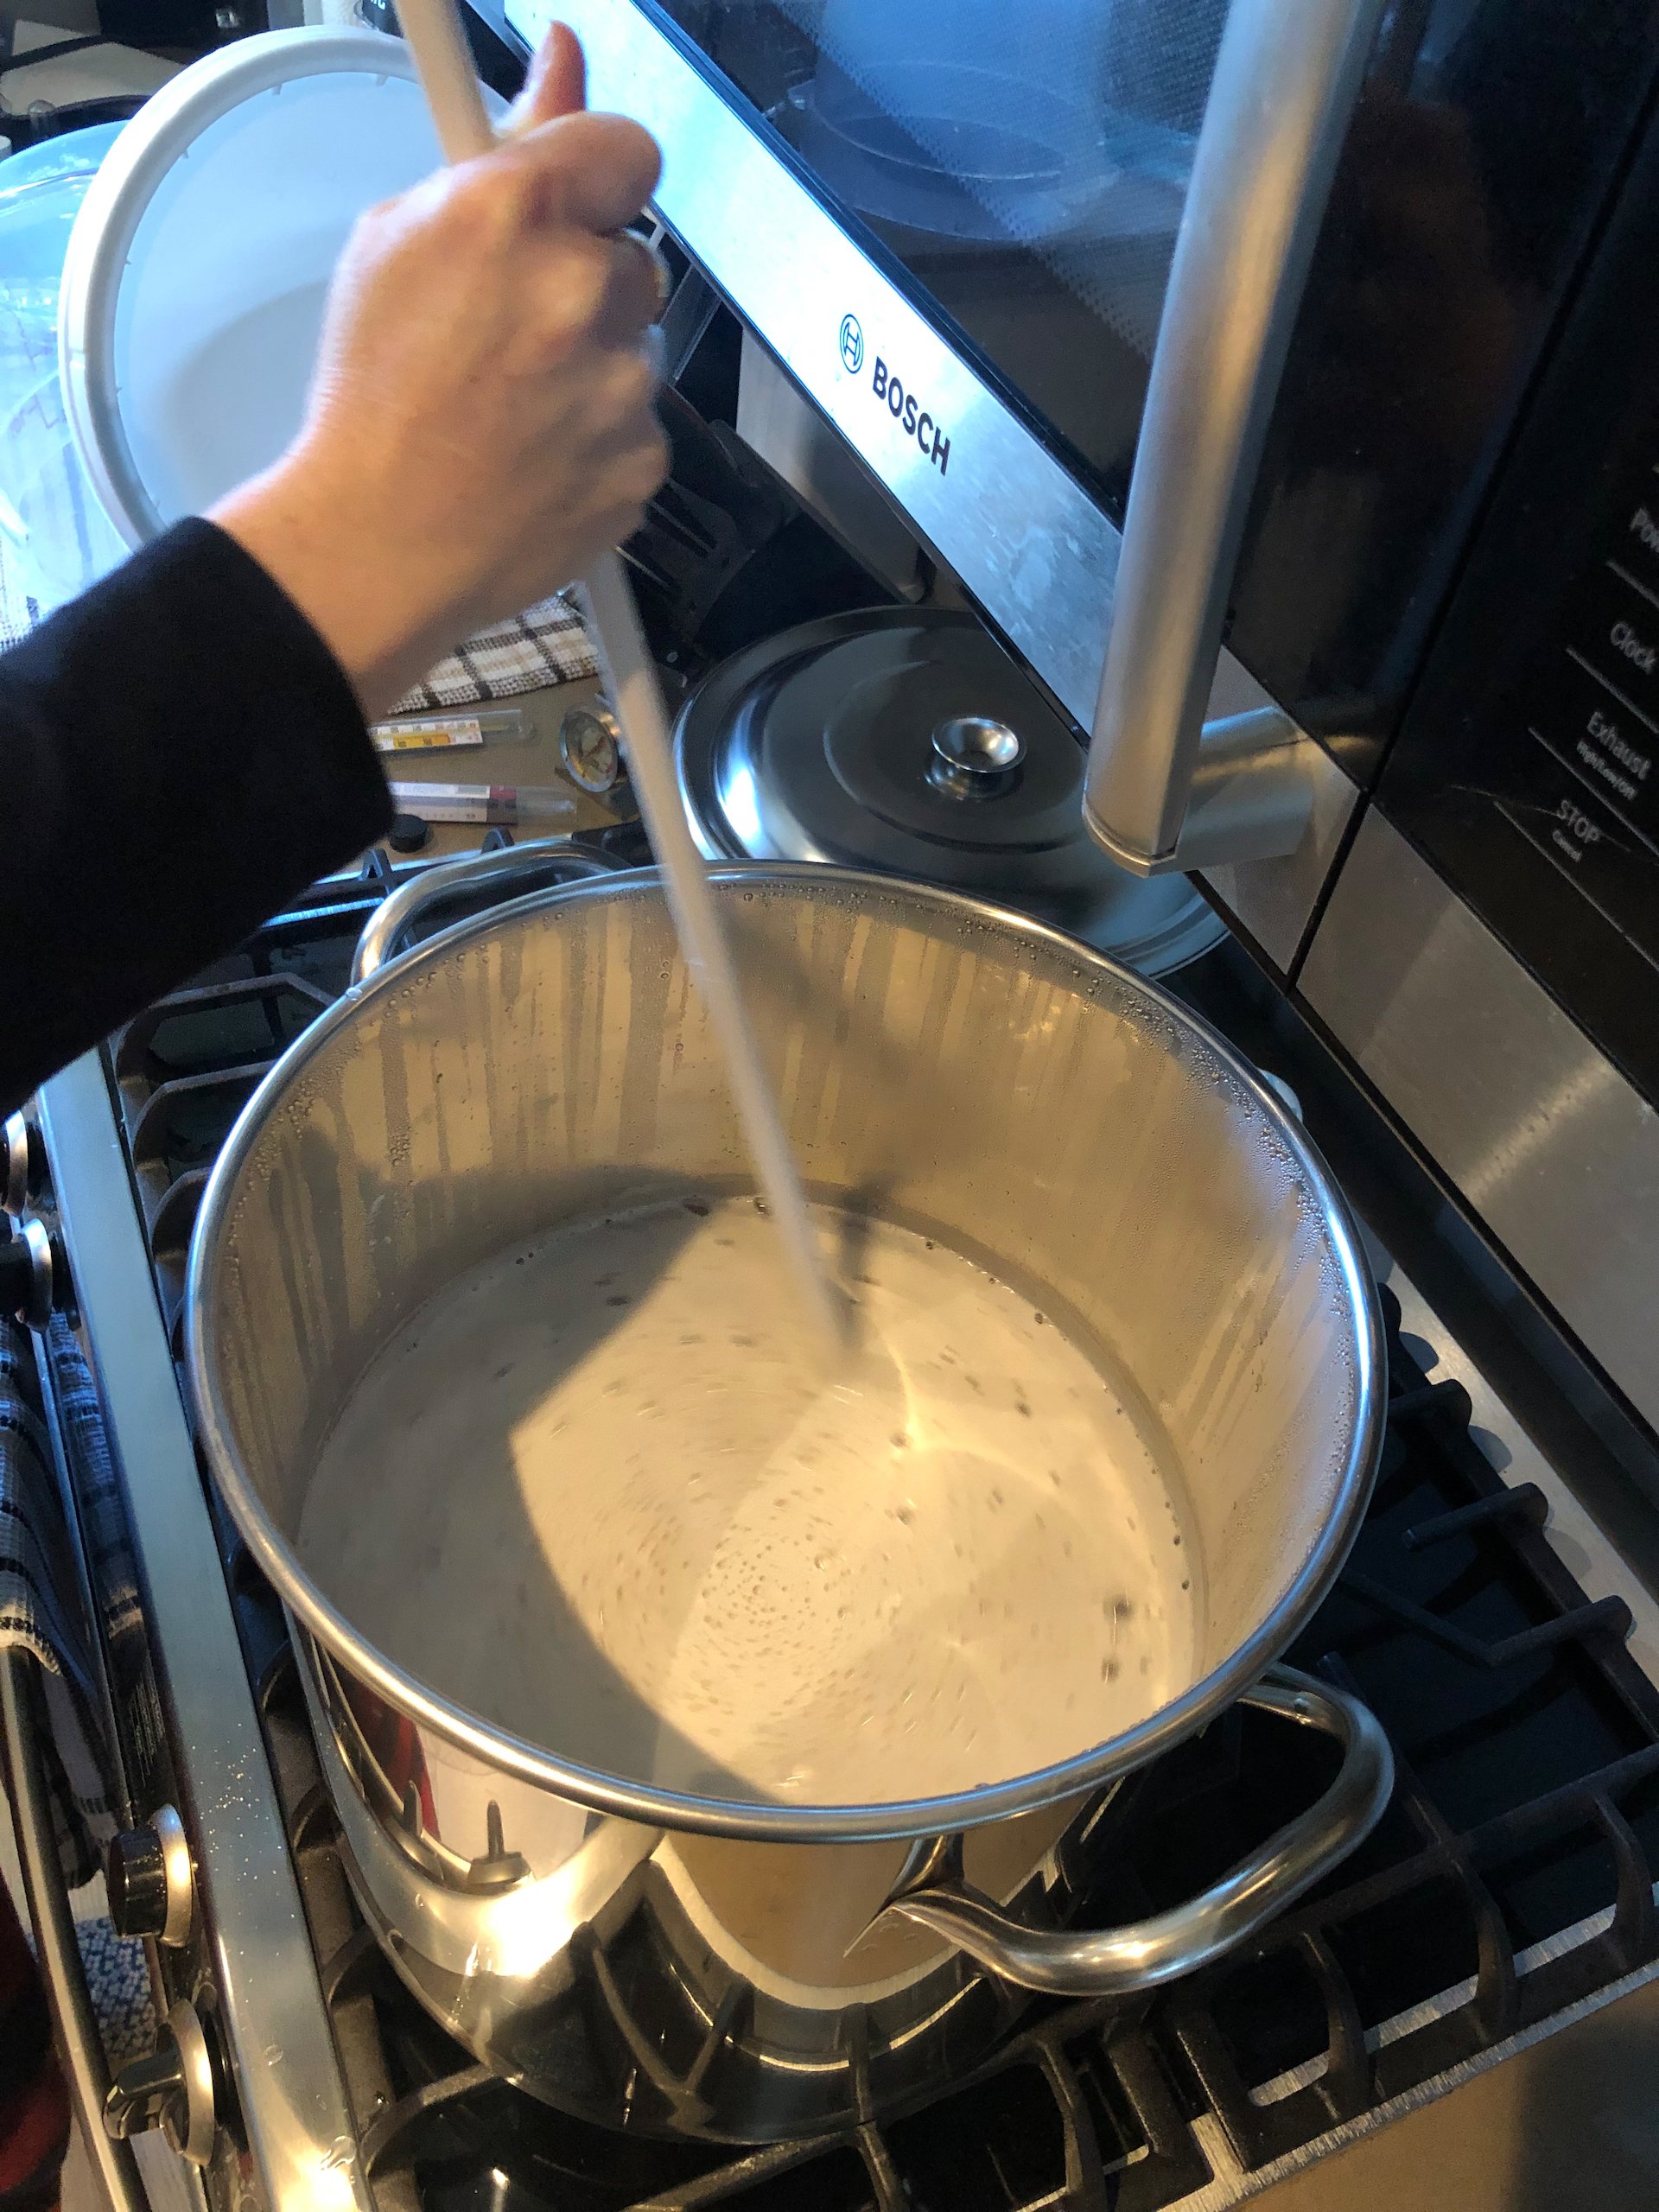
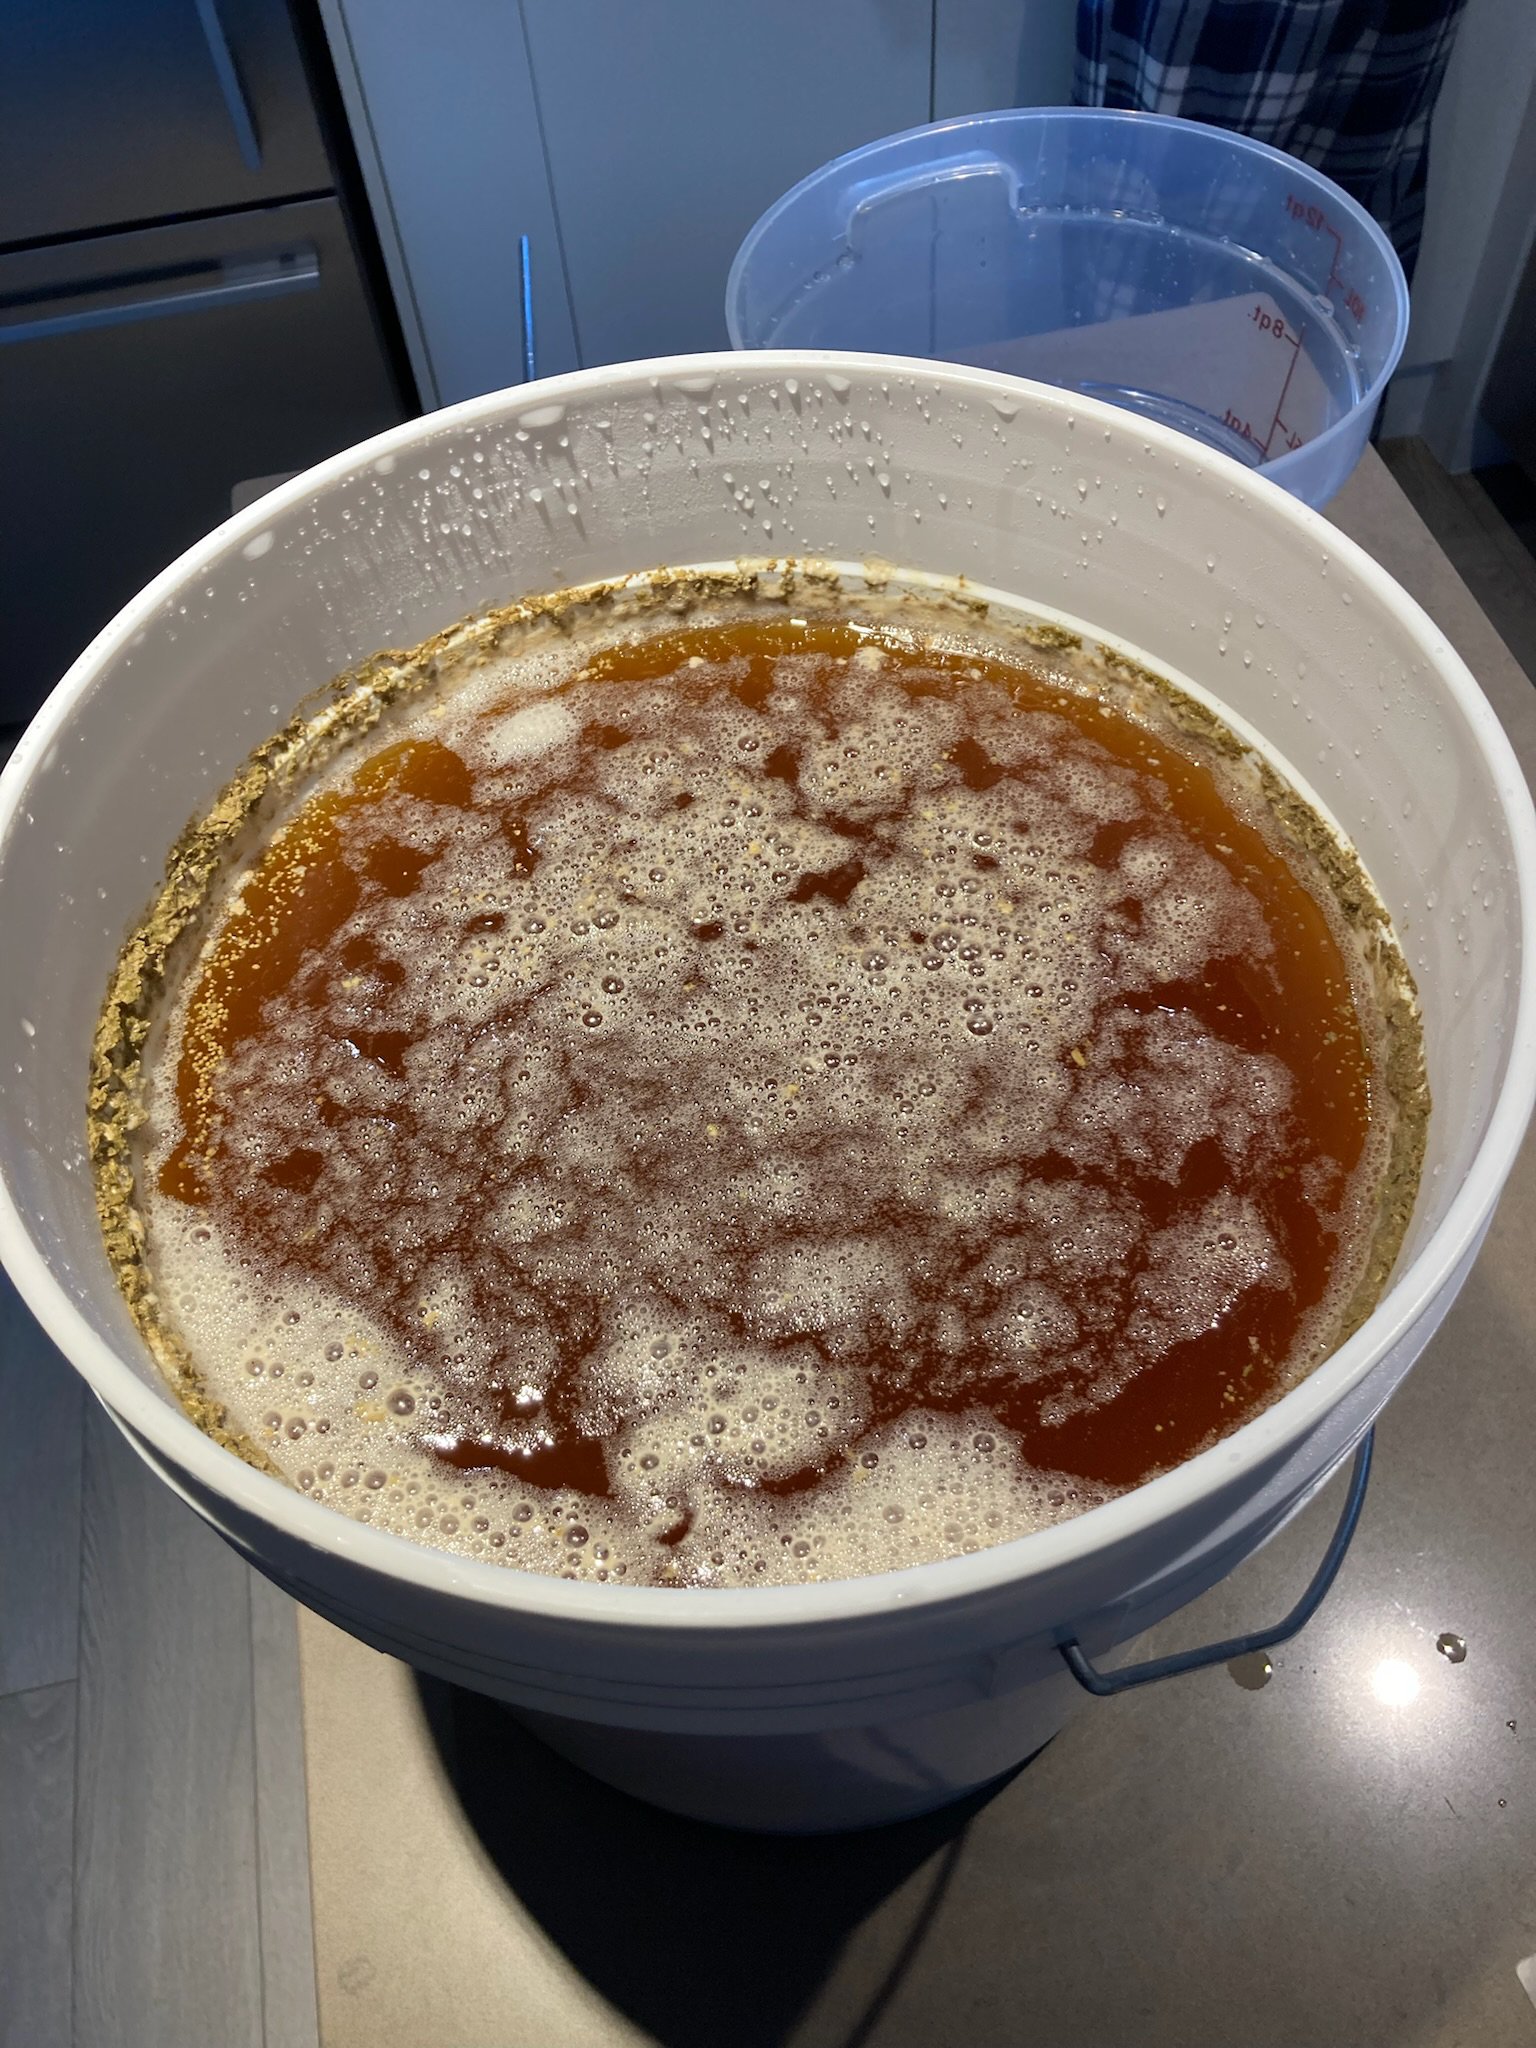
Creating out wort.
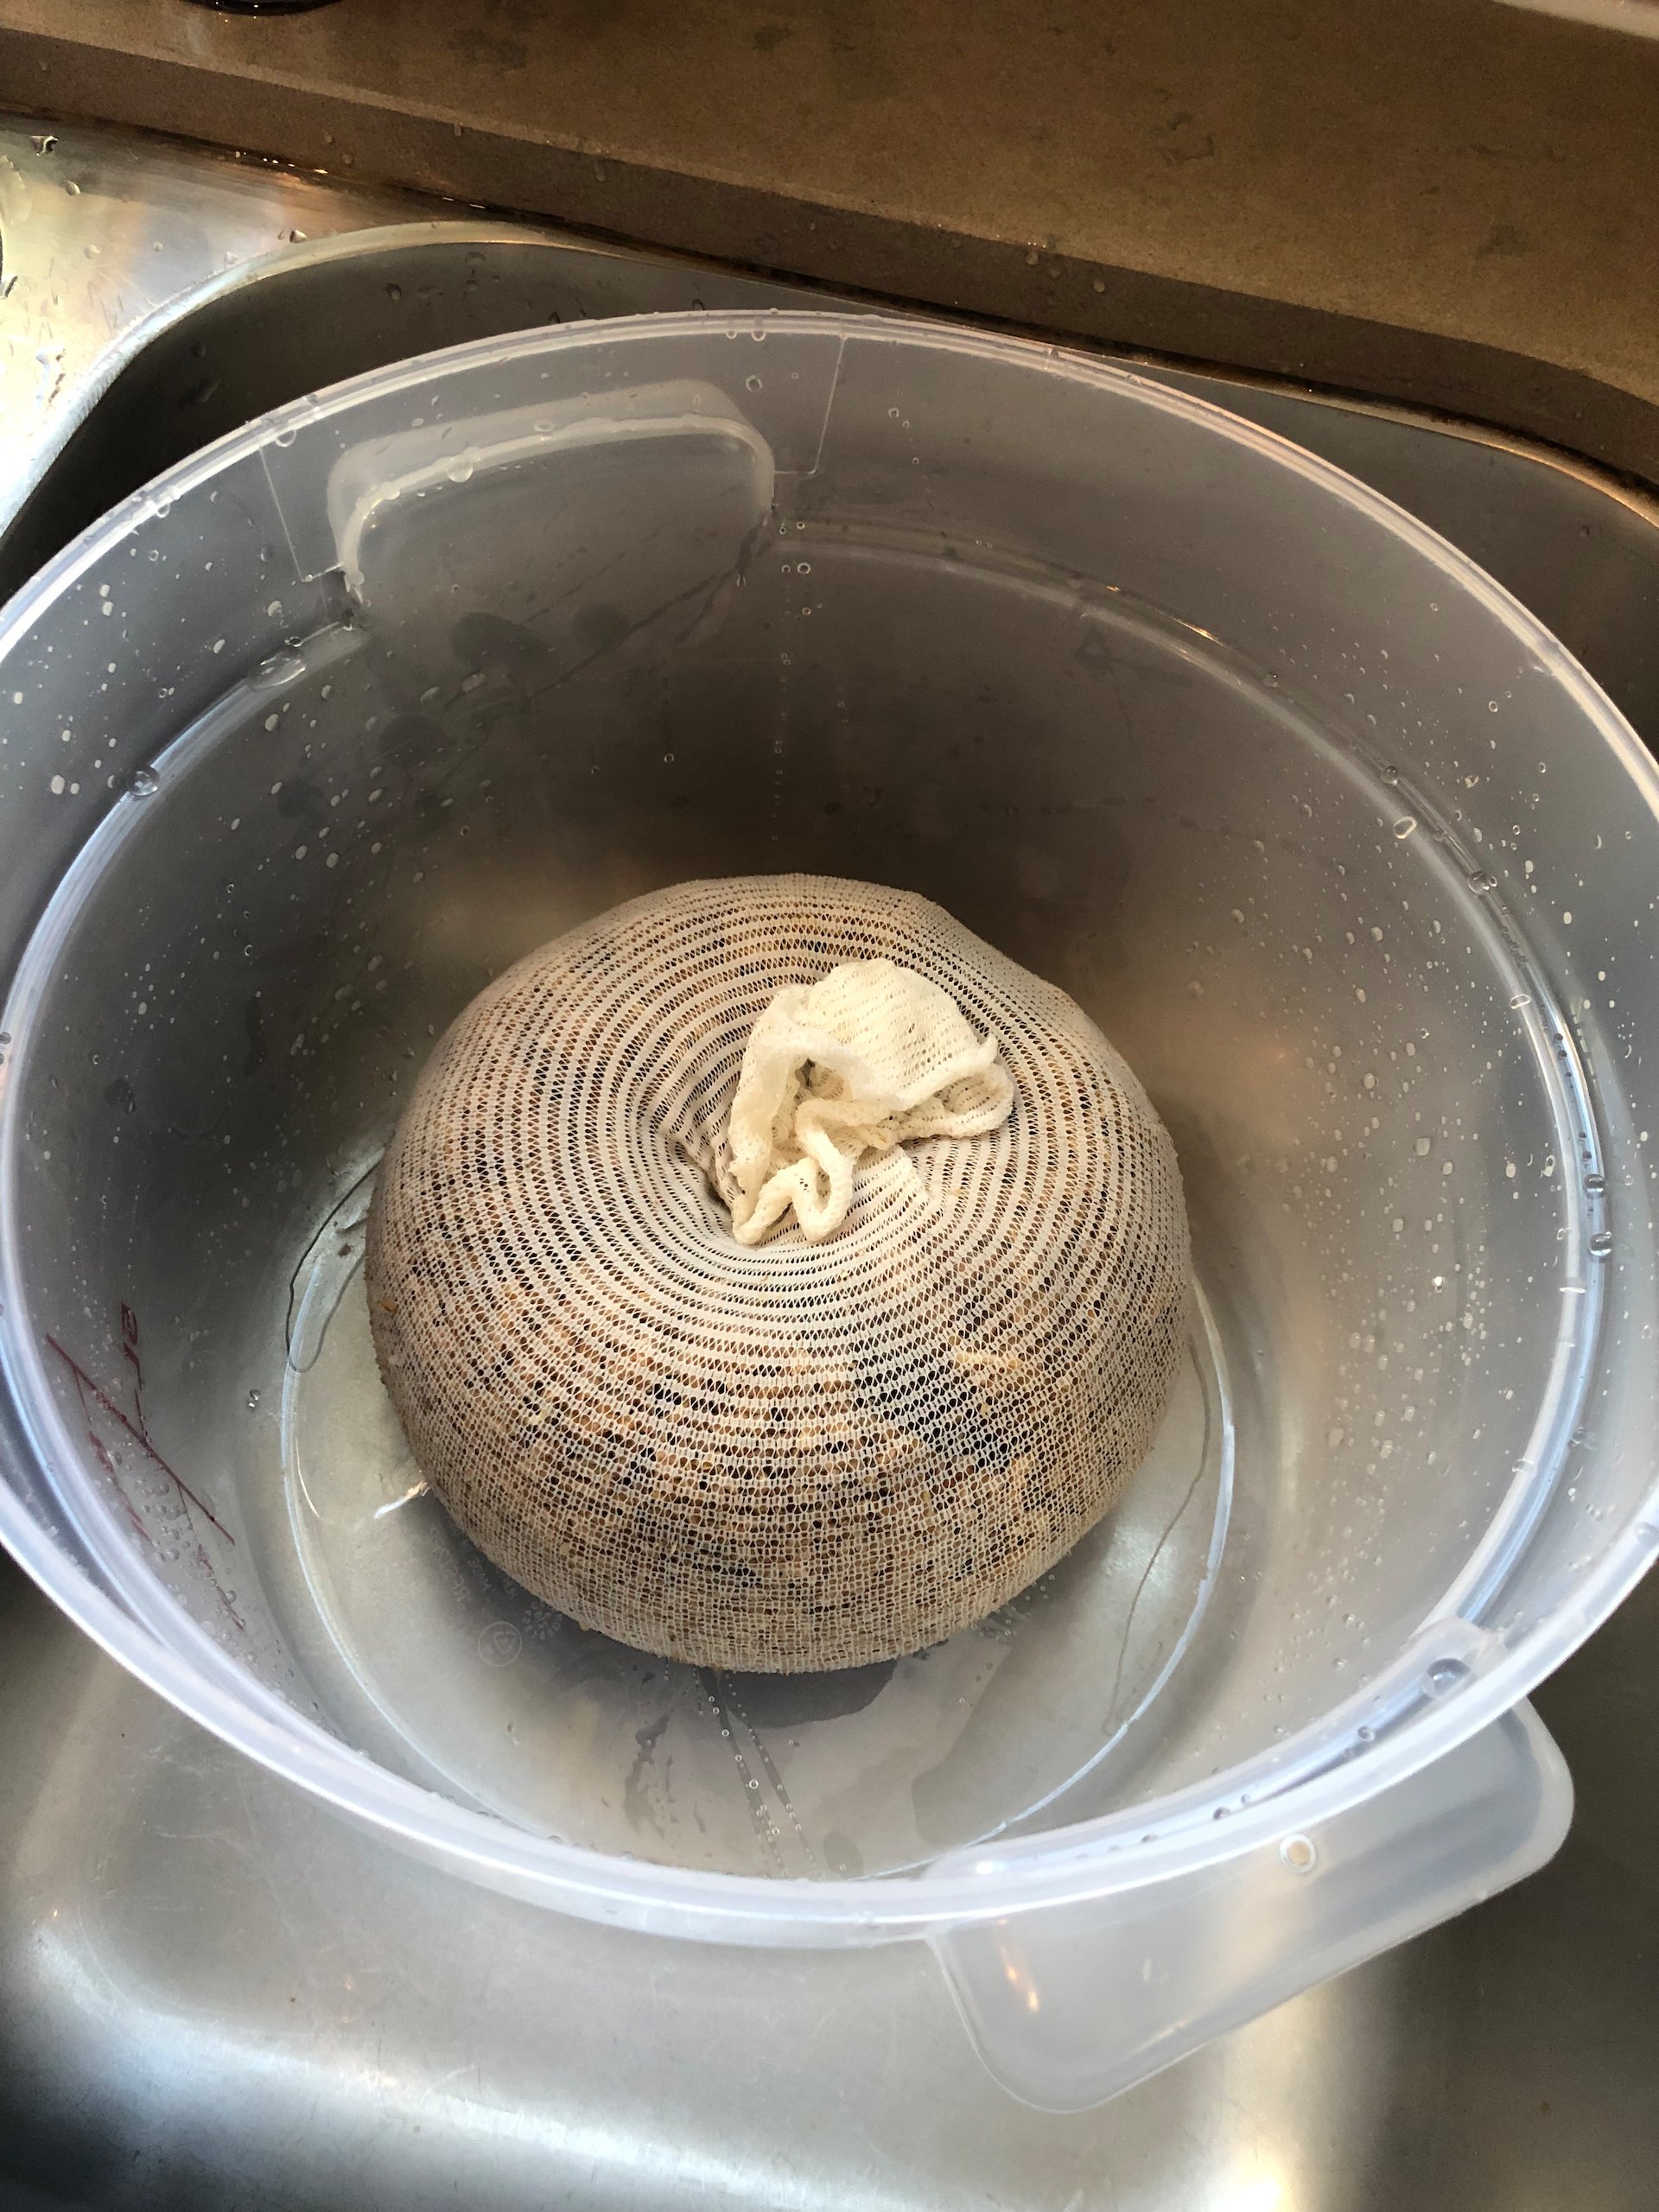
The grains after getting all the goodness out of them. Nice compost material.

The brewing continues. The hops have been added at this stage.
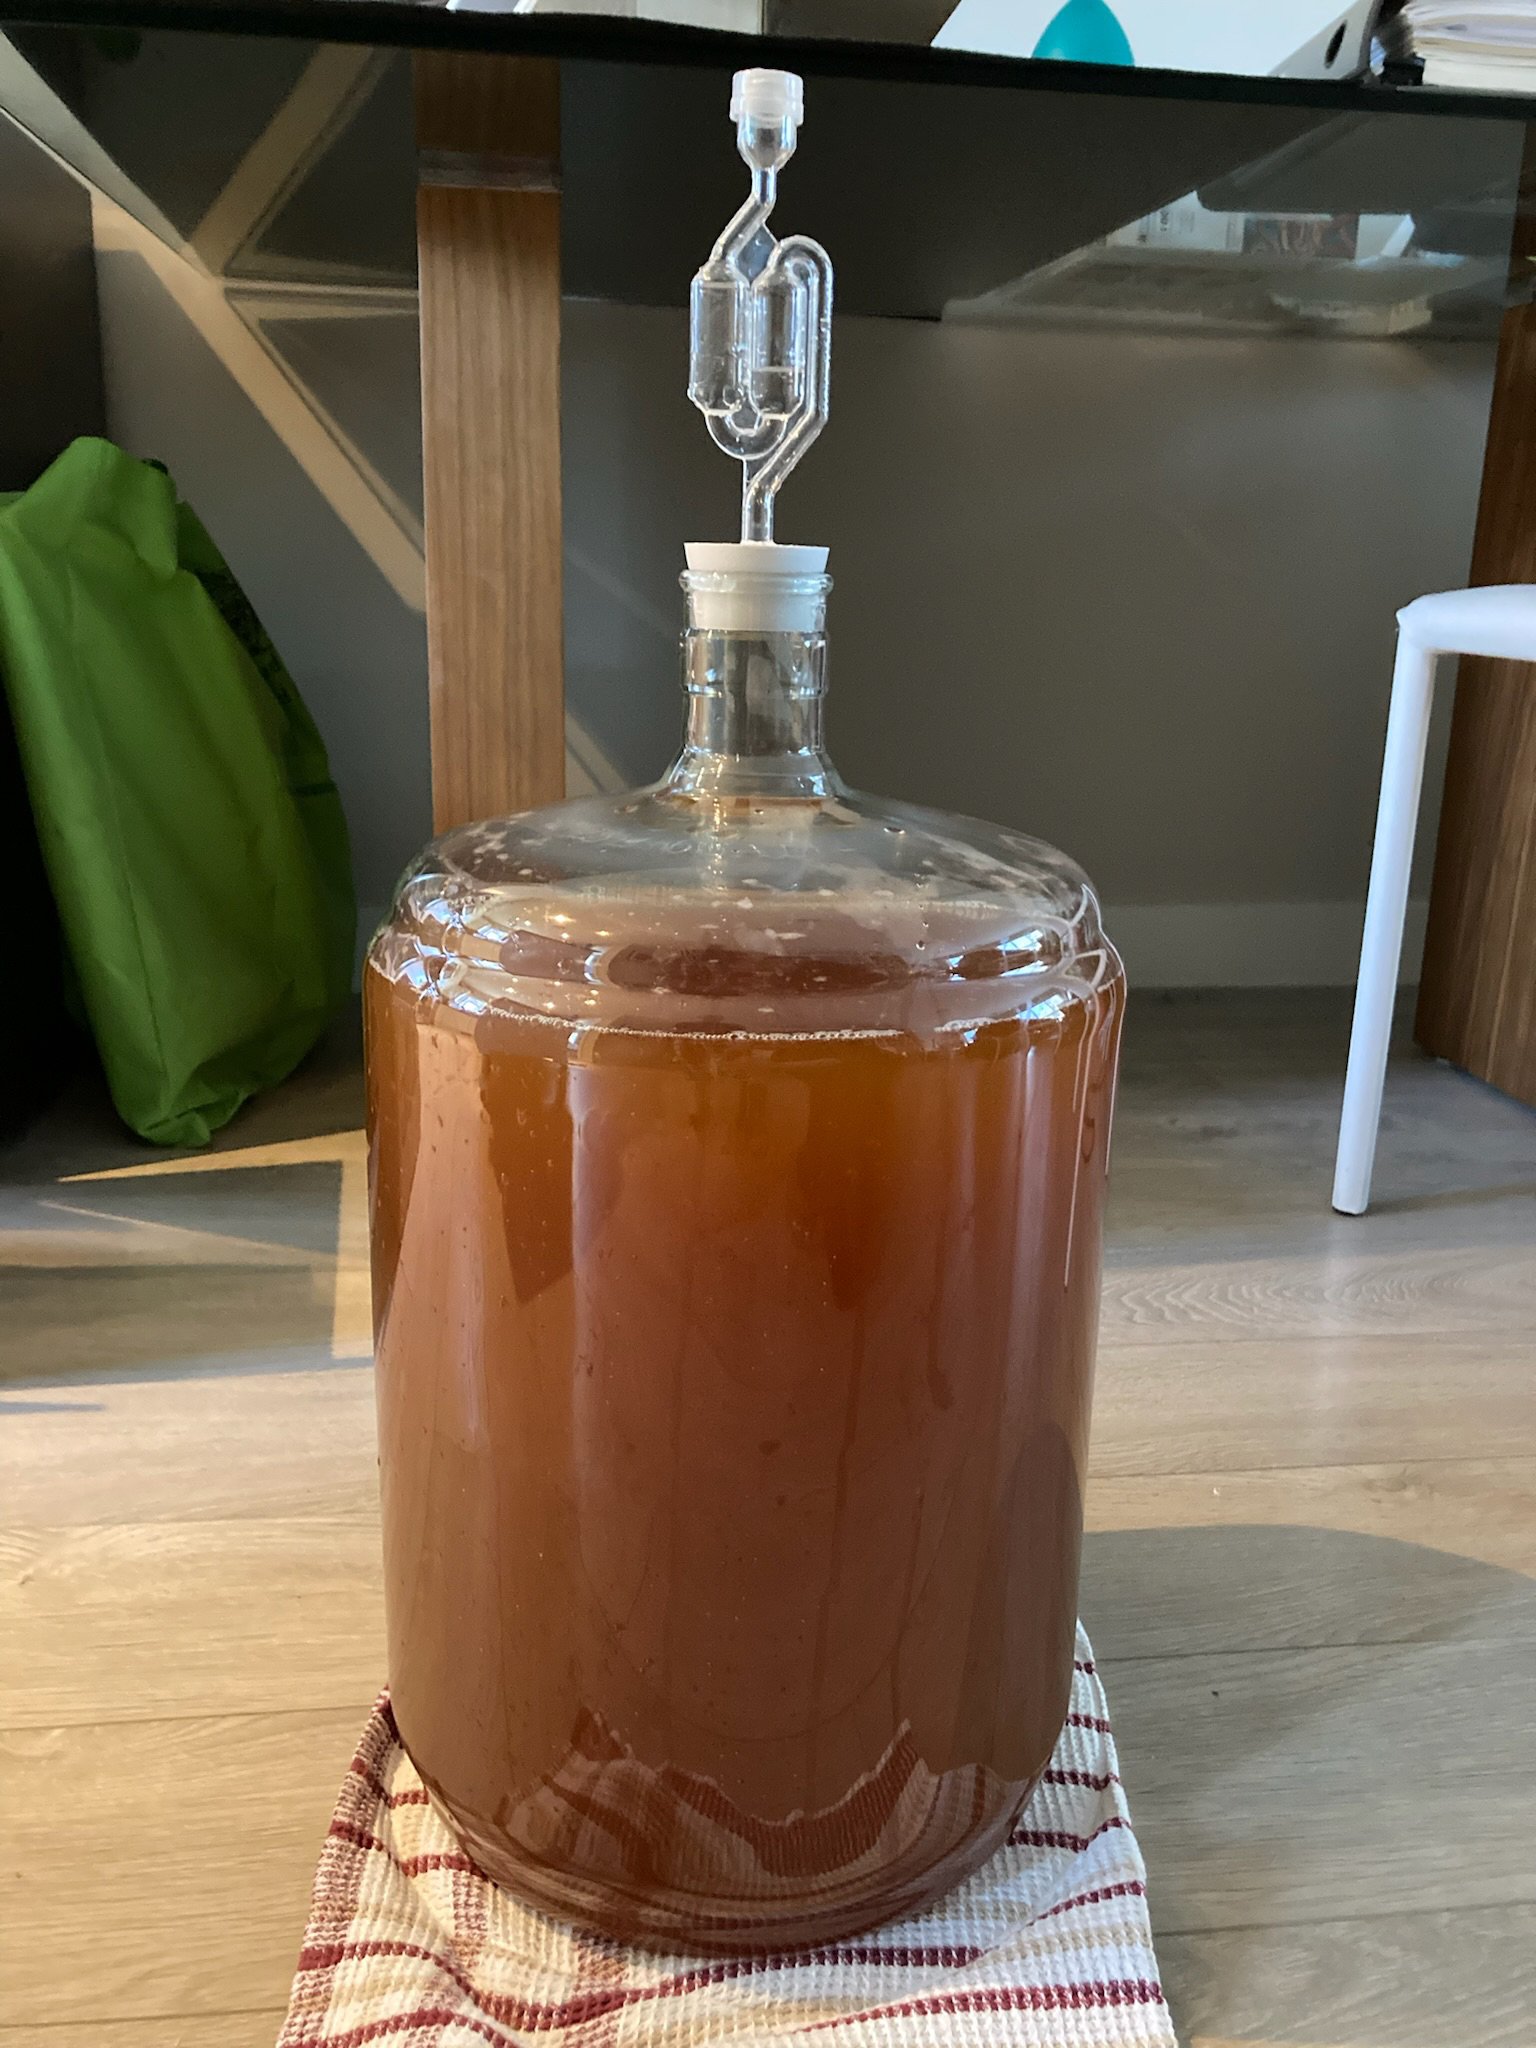
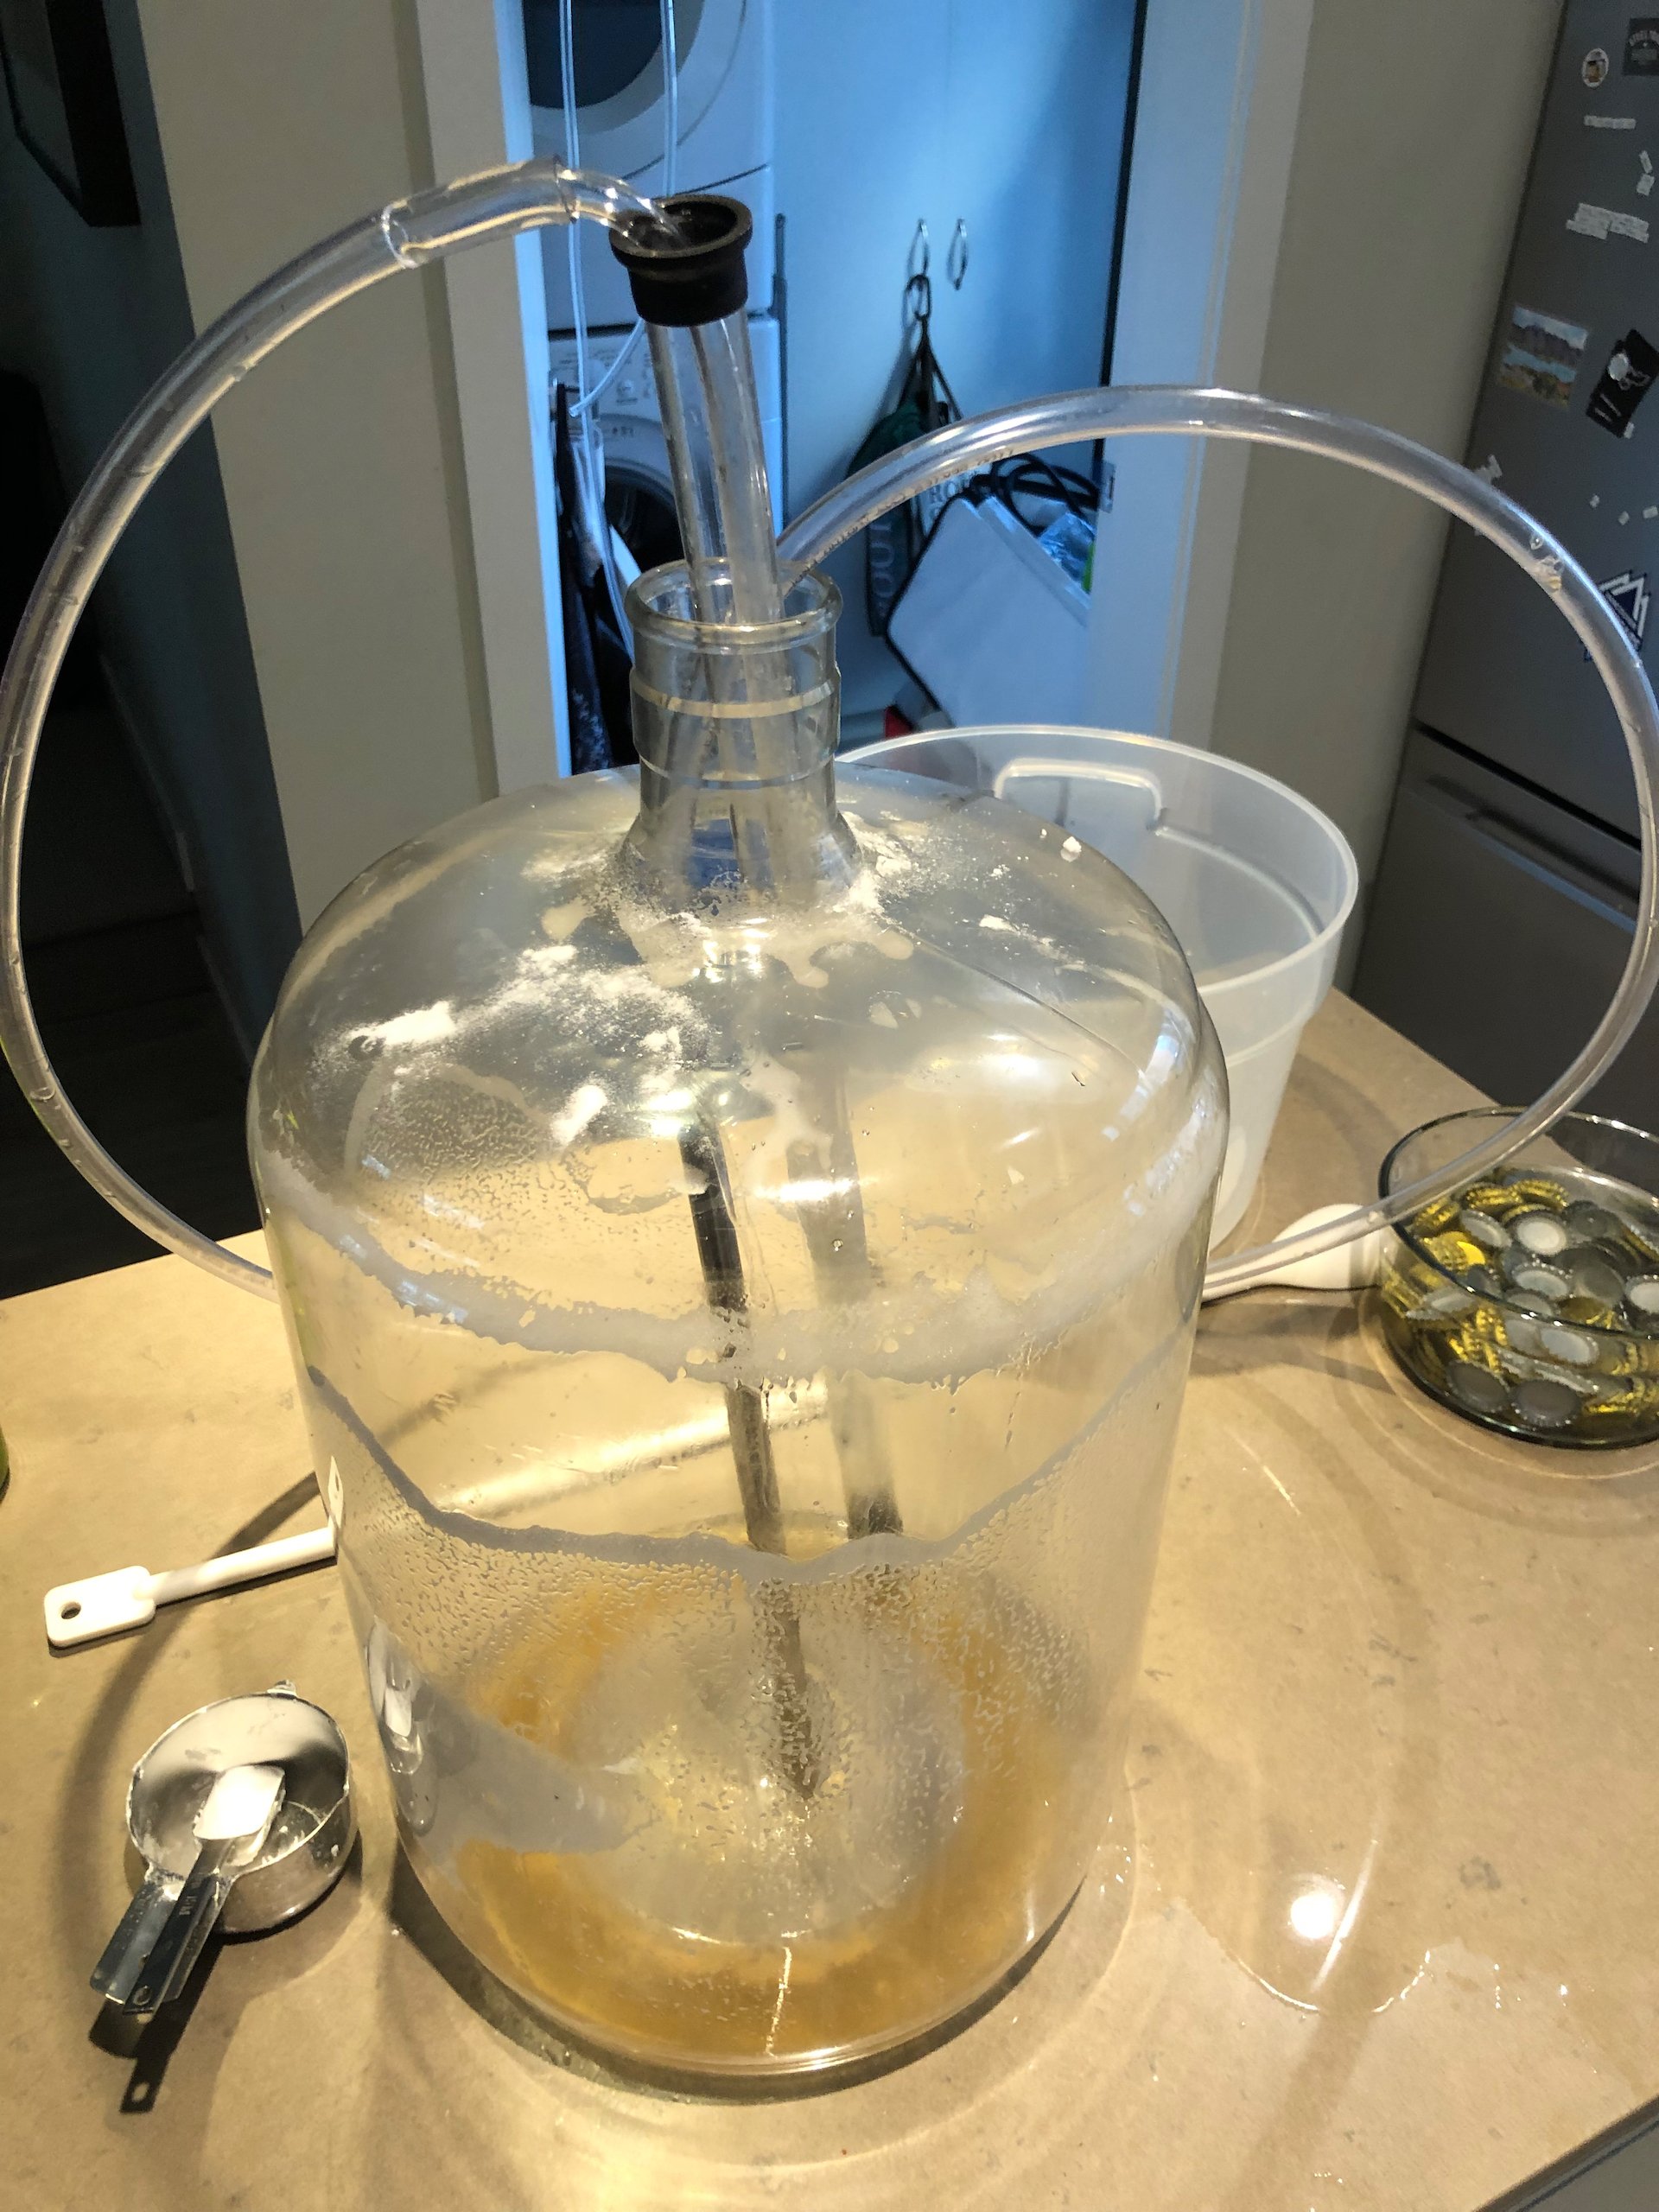
After a little more than an hour, the brewing step was done. We had to cool the wort, then transfer to primary fermentation. We added (“pitched”) the yeast and ste one was complete! We put the fermenter into a nice dark place and waited a couple of weeks.
Two weeks later we moved the work-in-progress from the primary to the secondary fermenter. This was pretty easy, and then we had to wait another 10 days for phase two to be completed.

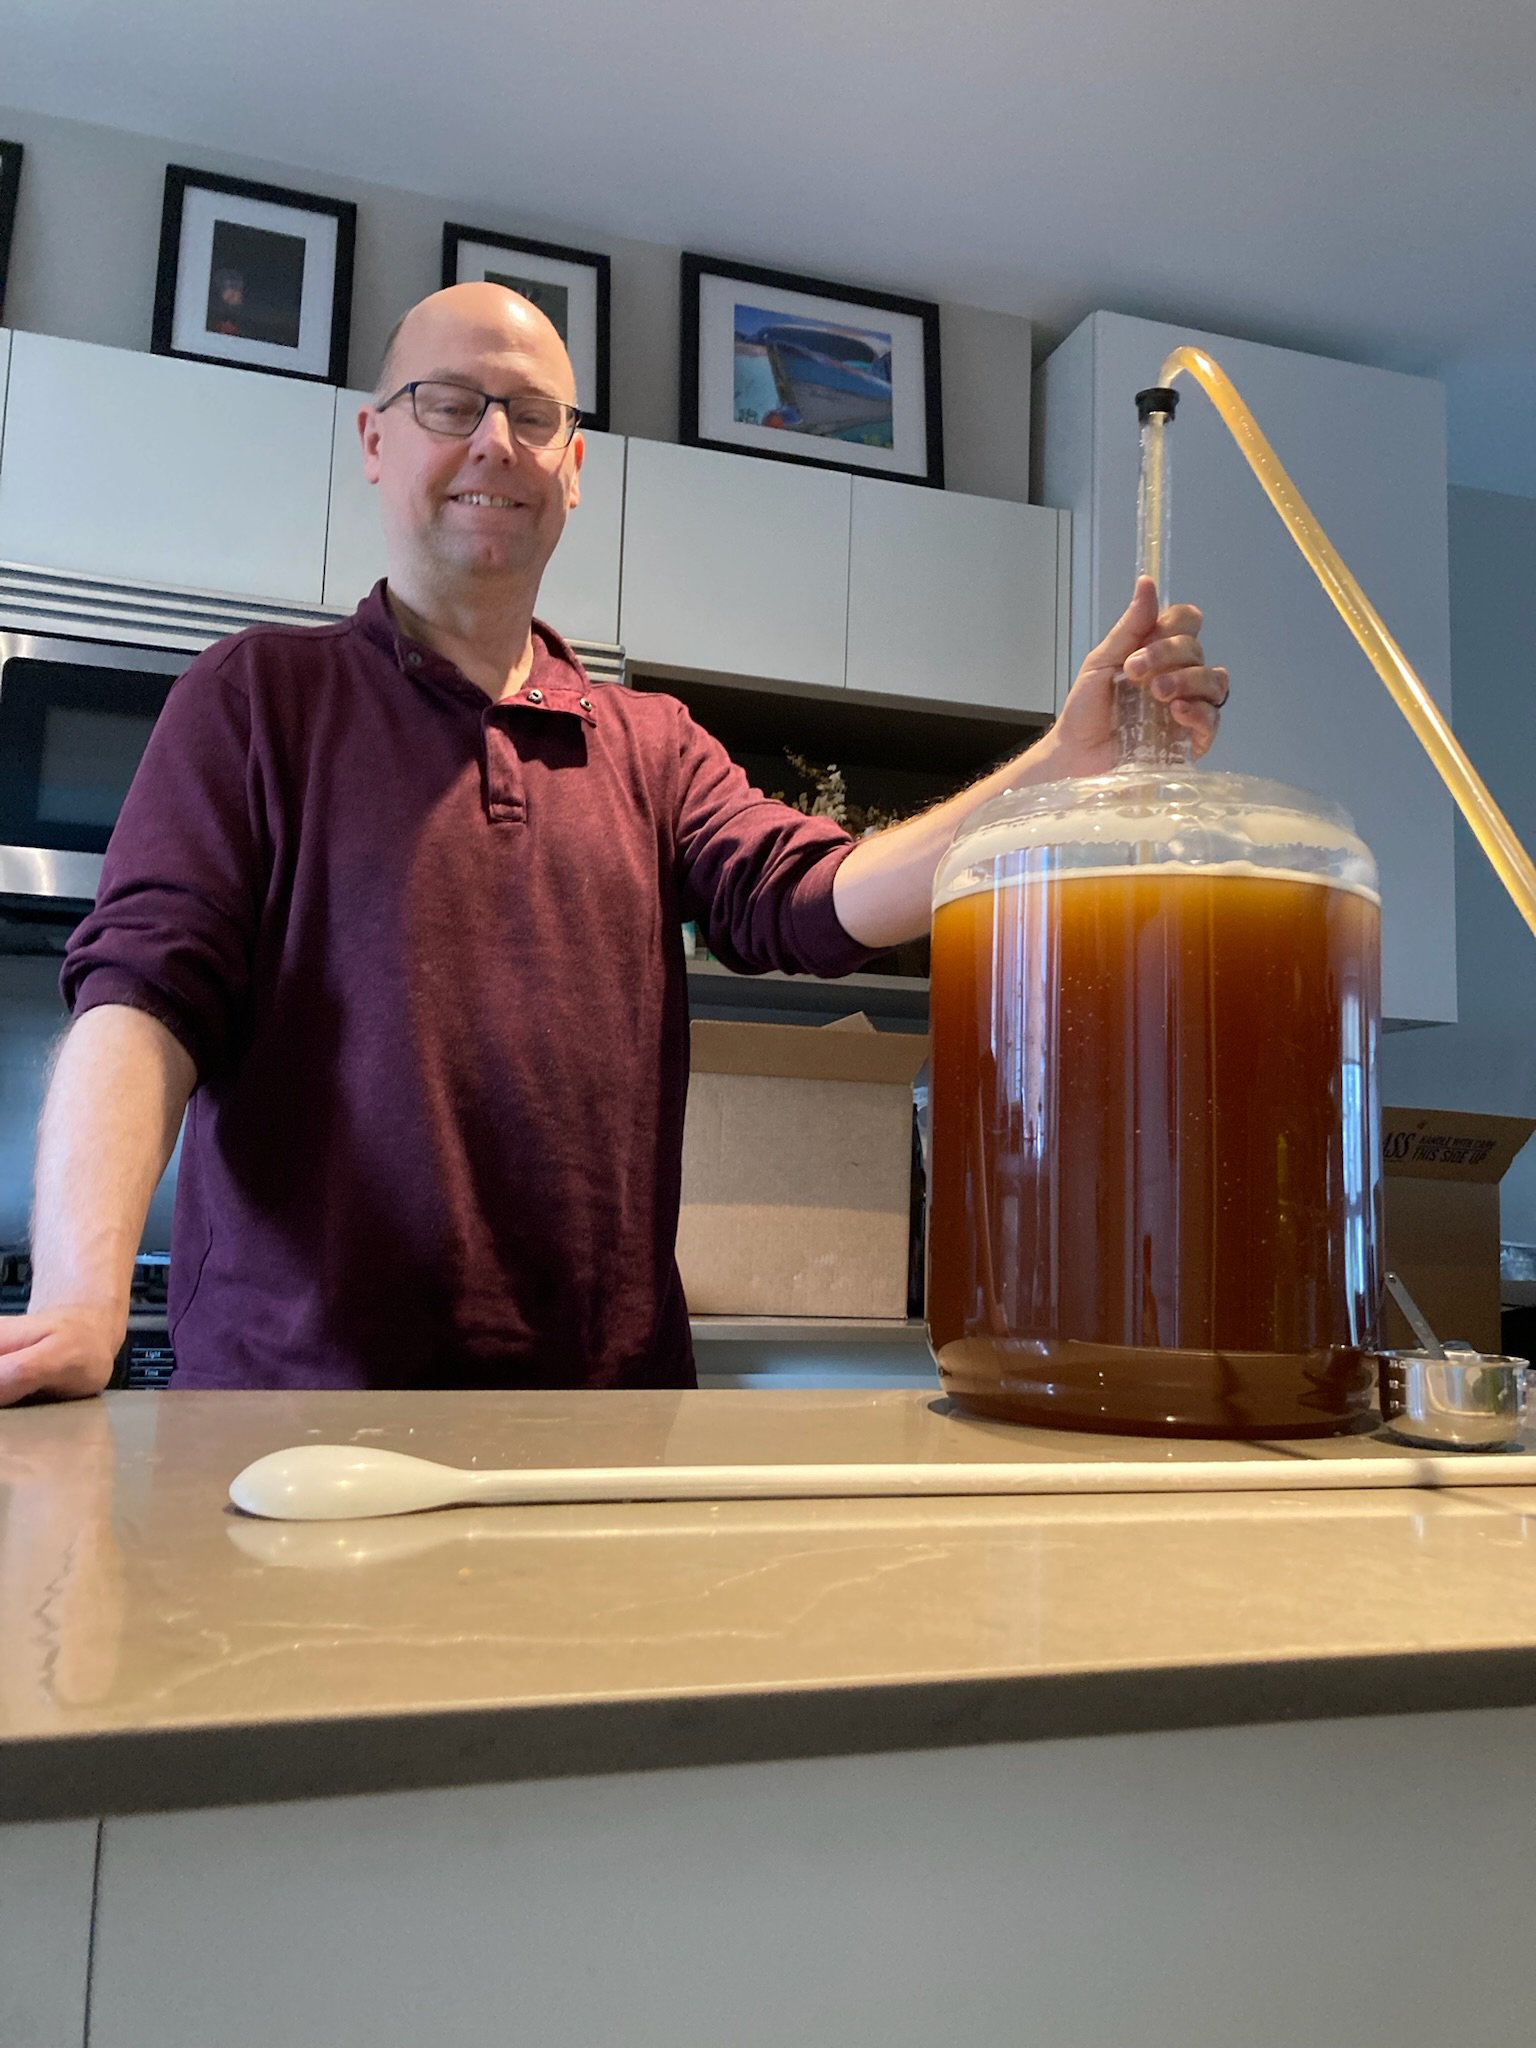
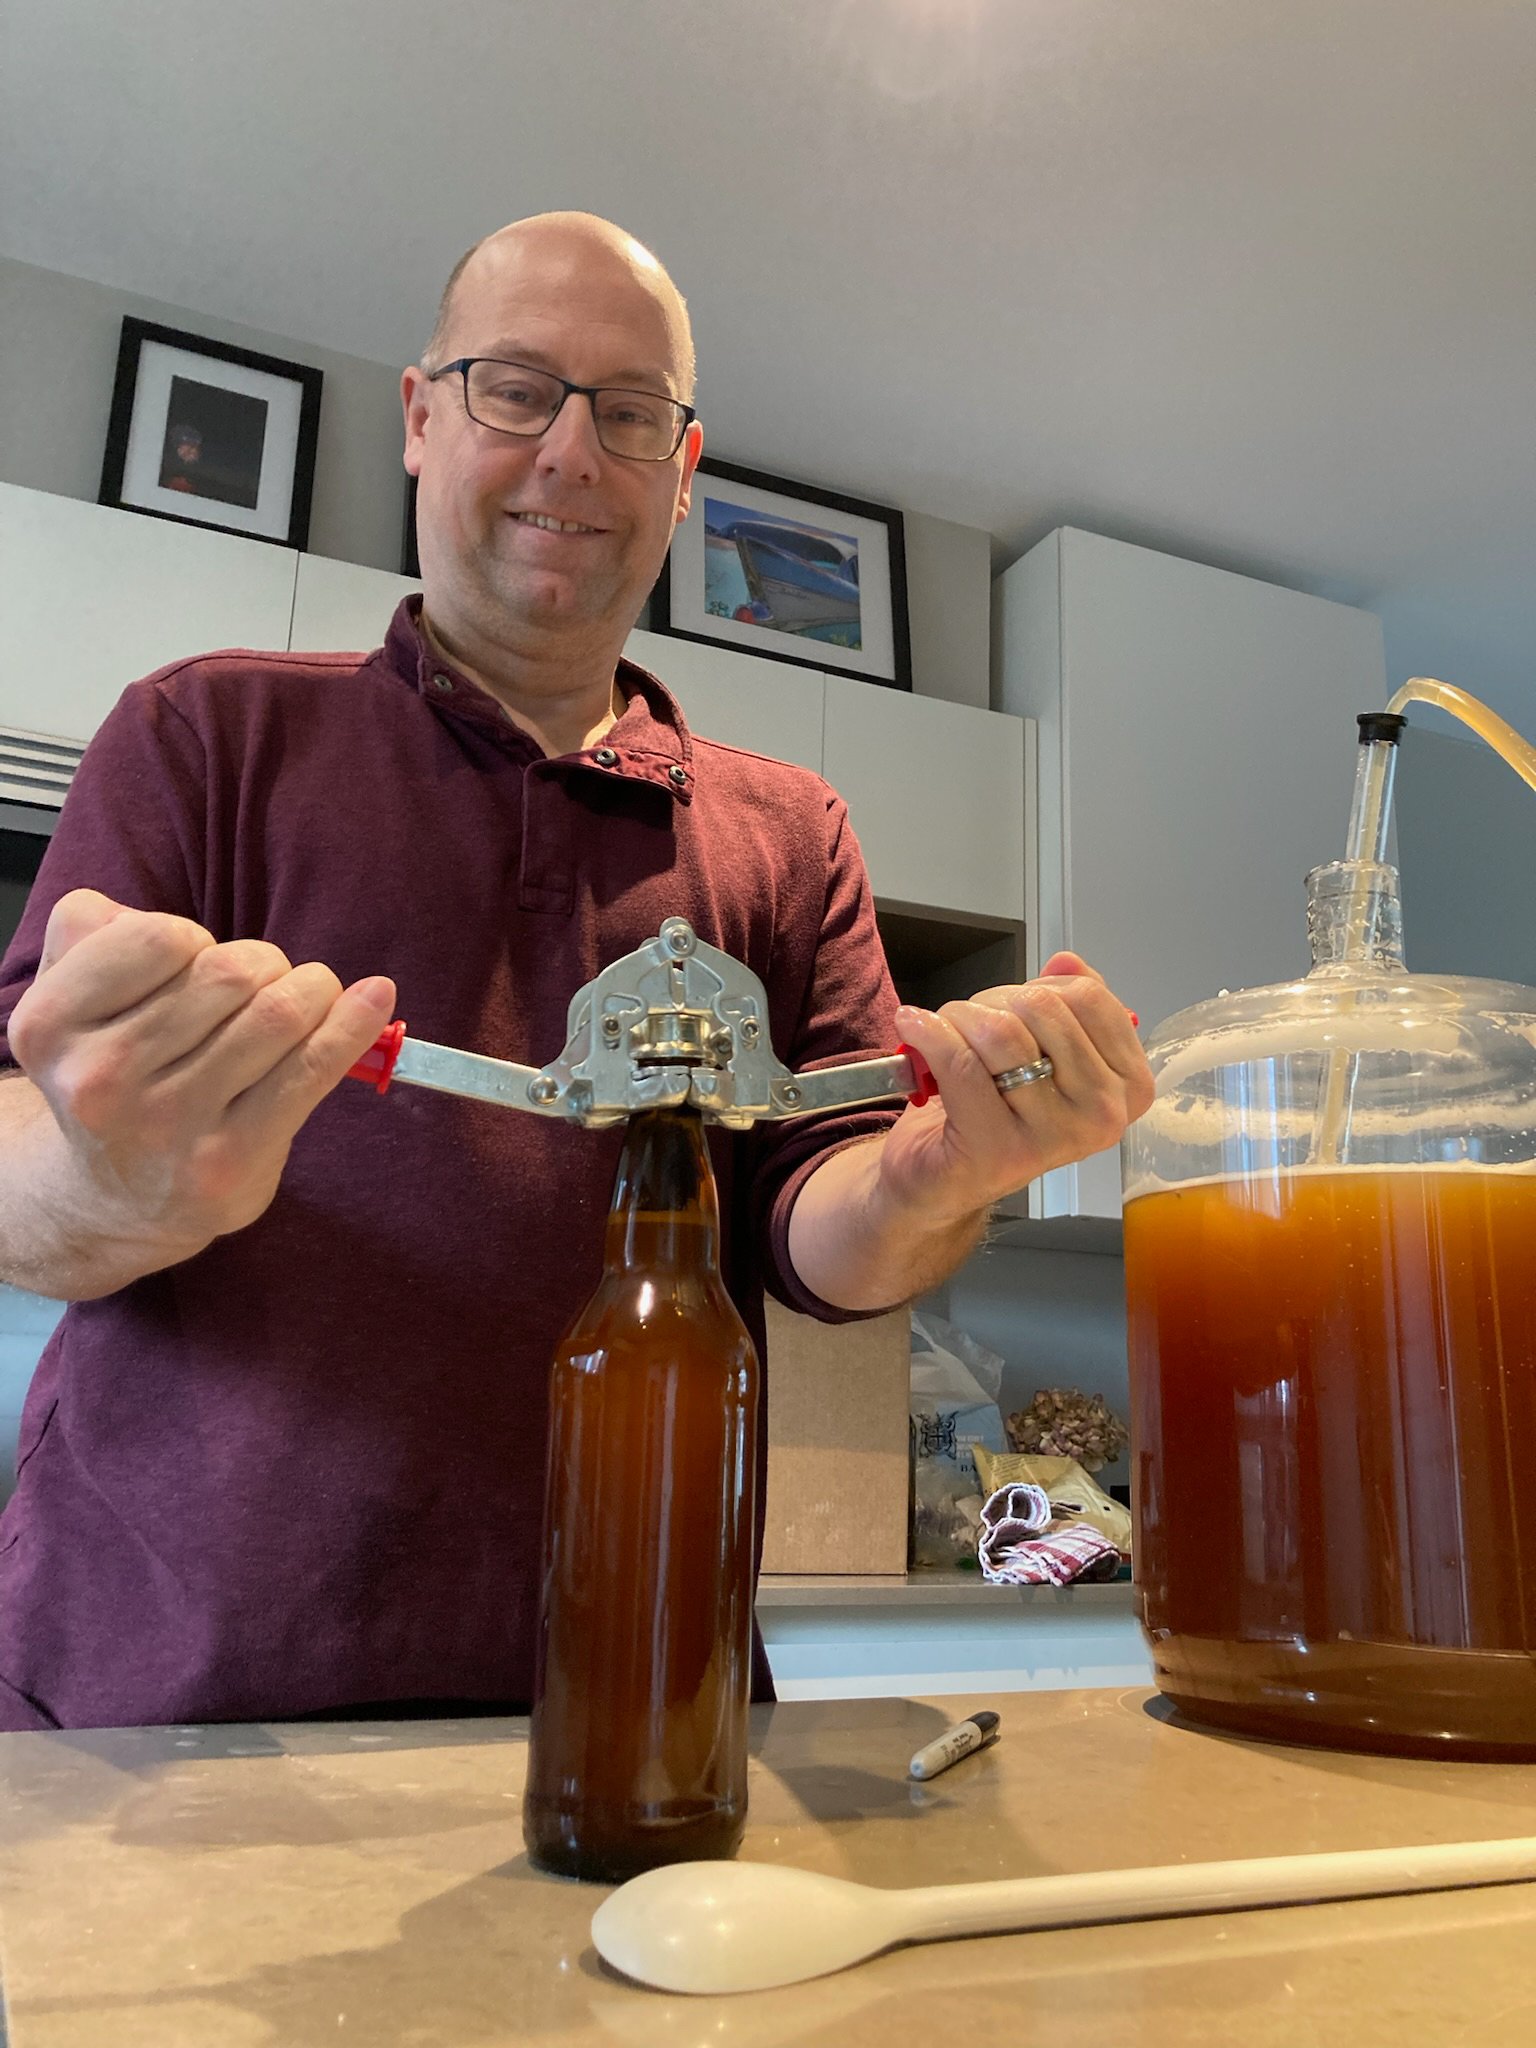
After the second phase, it was time to bottle. The beer had a really nice colour to it, so we were excited. We added the last bit of sugar (for final fermentation in the bottle) and proceeded to bottle our first batch of beer!
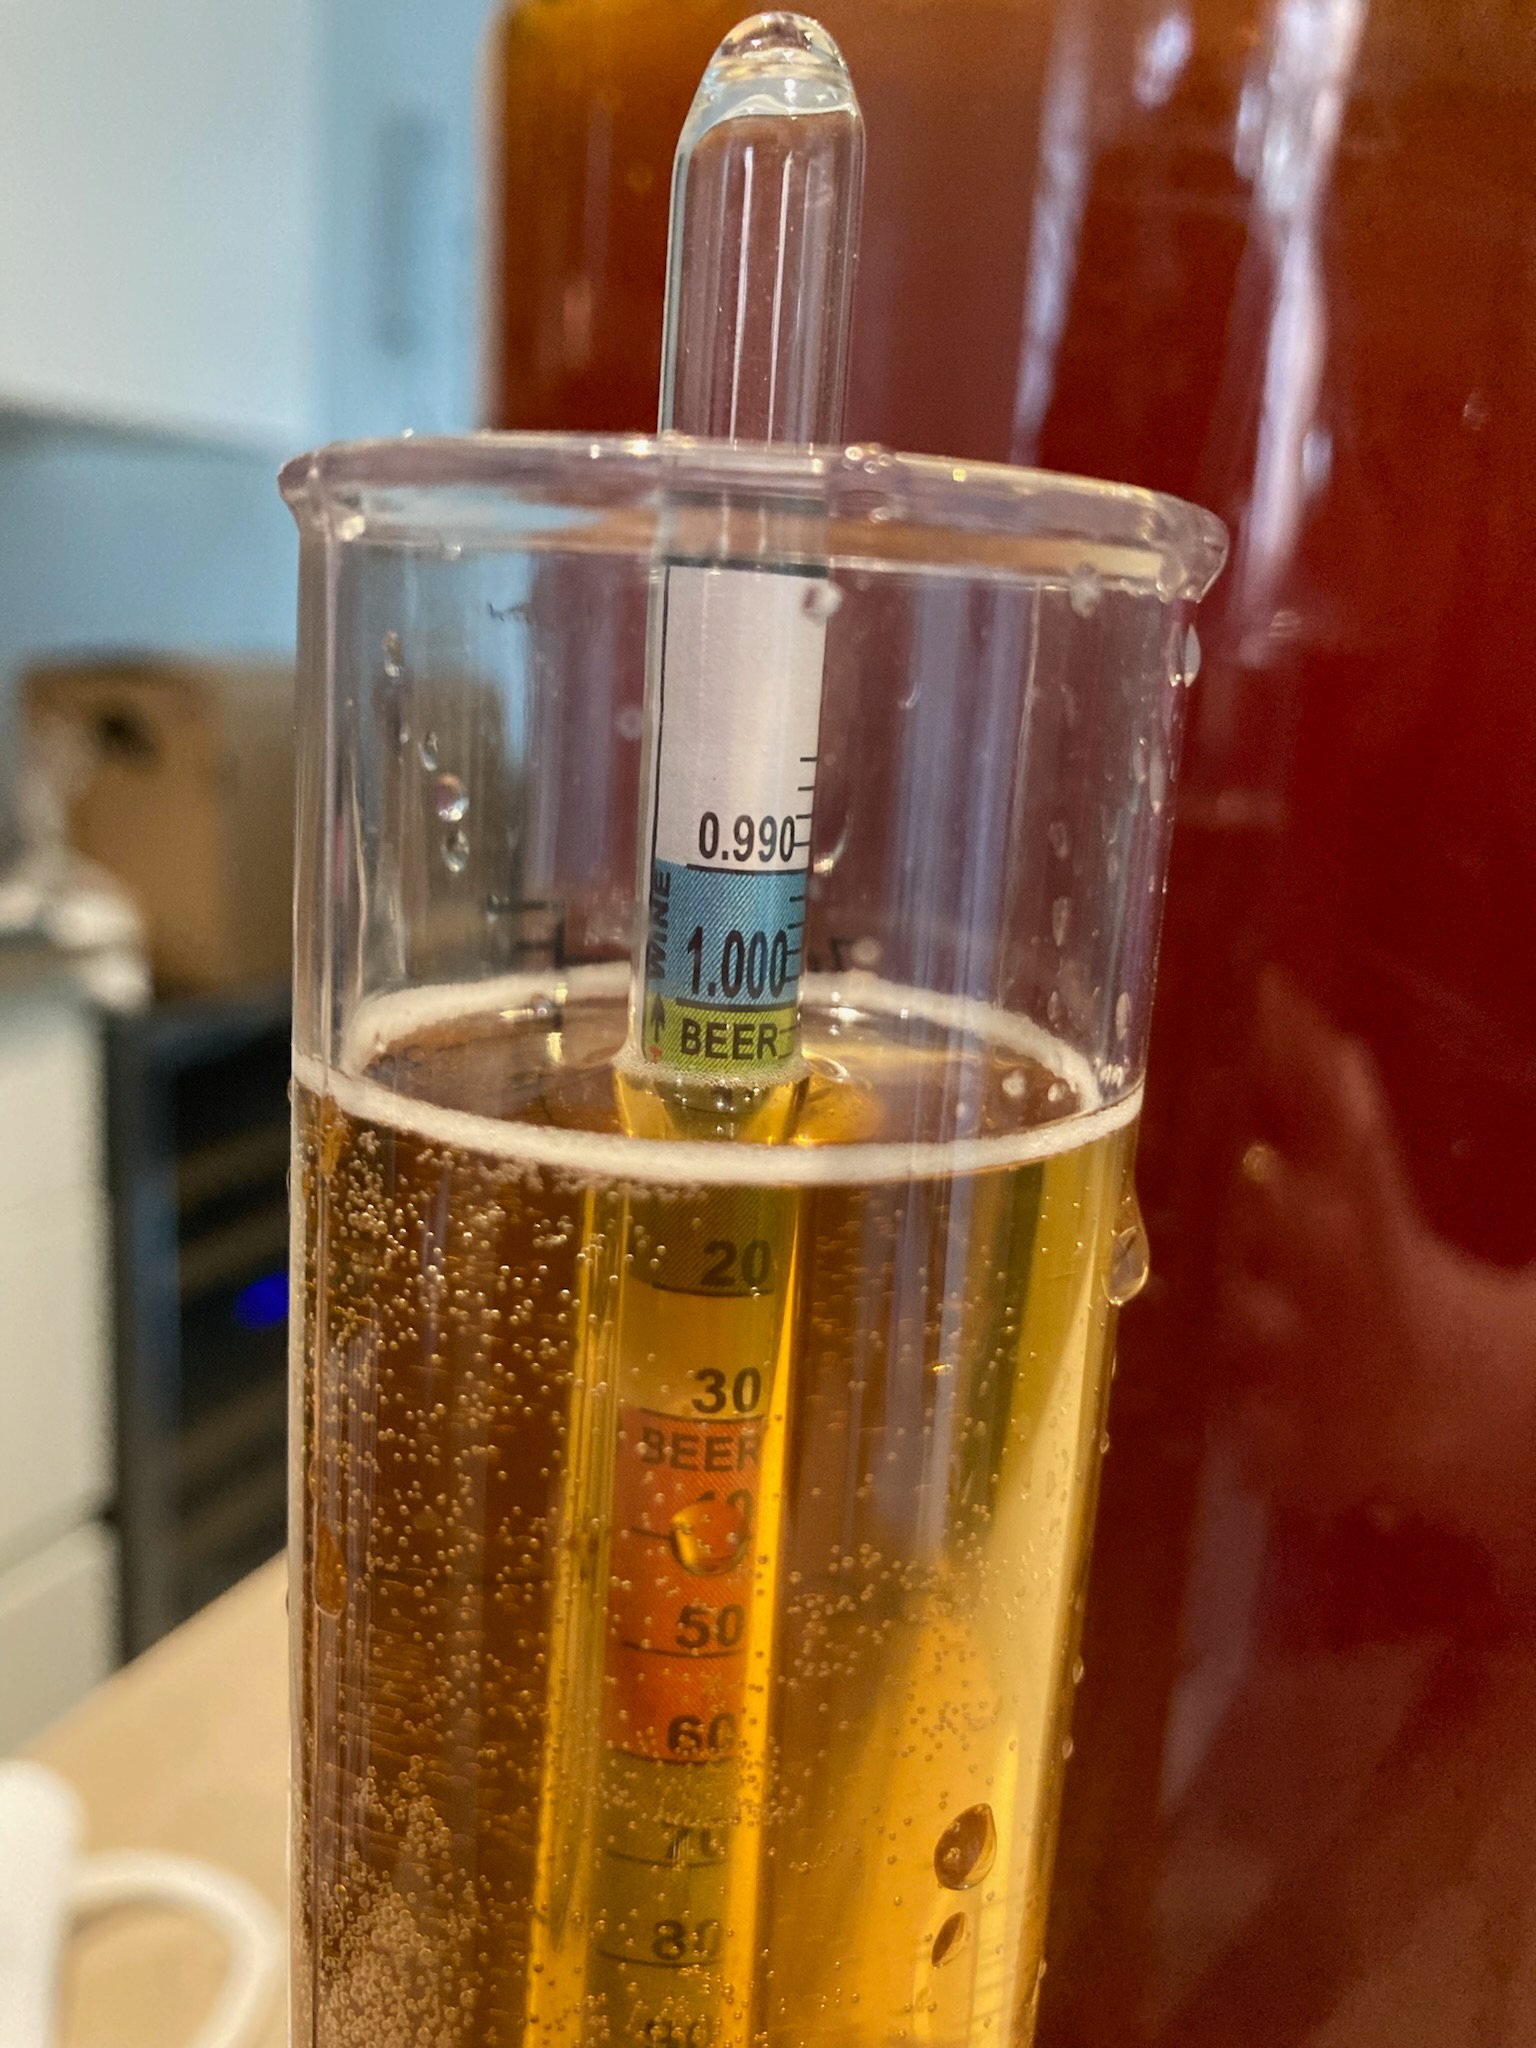
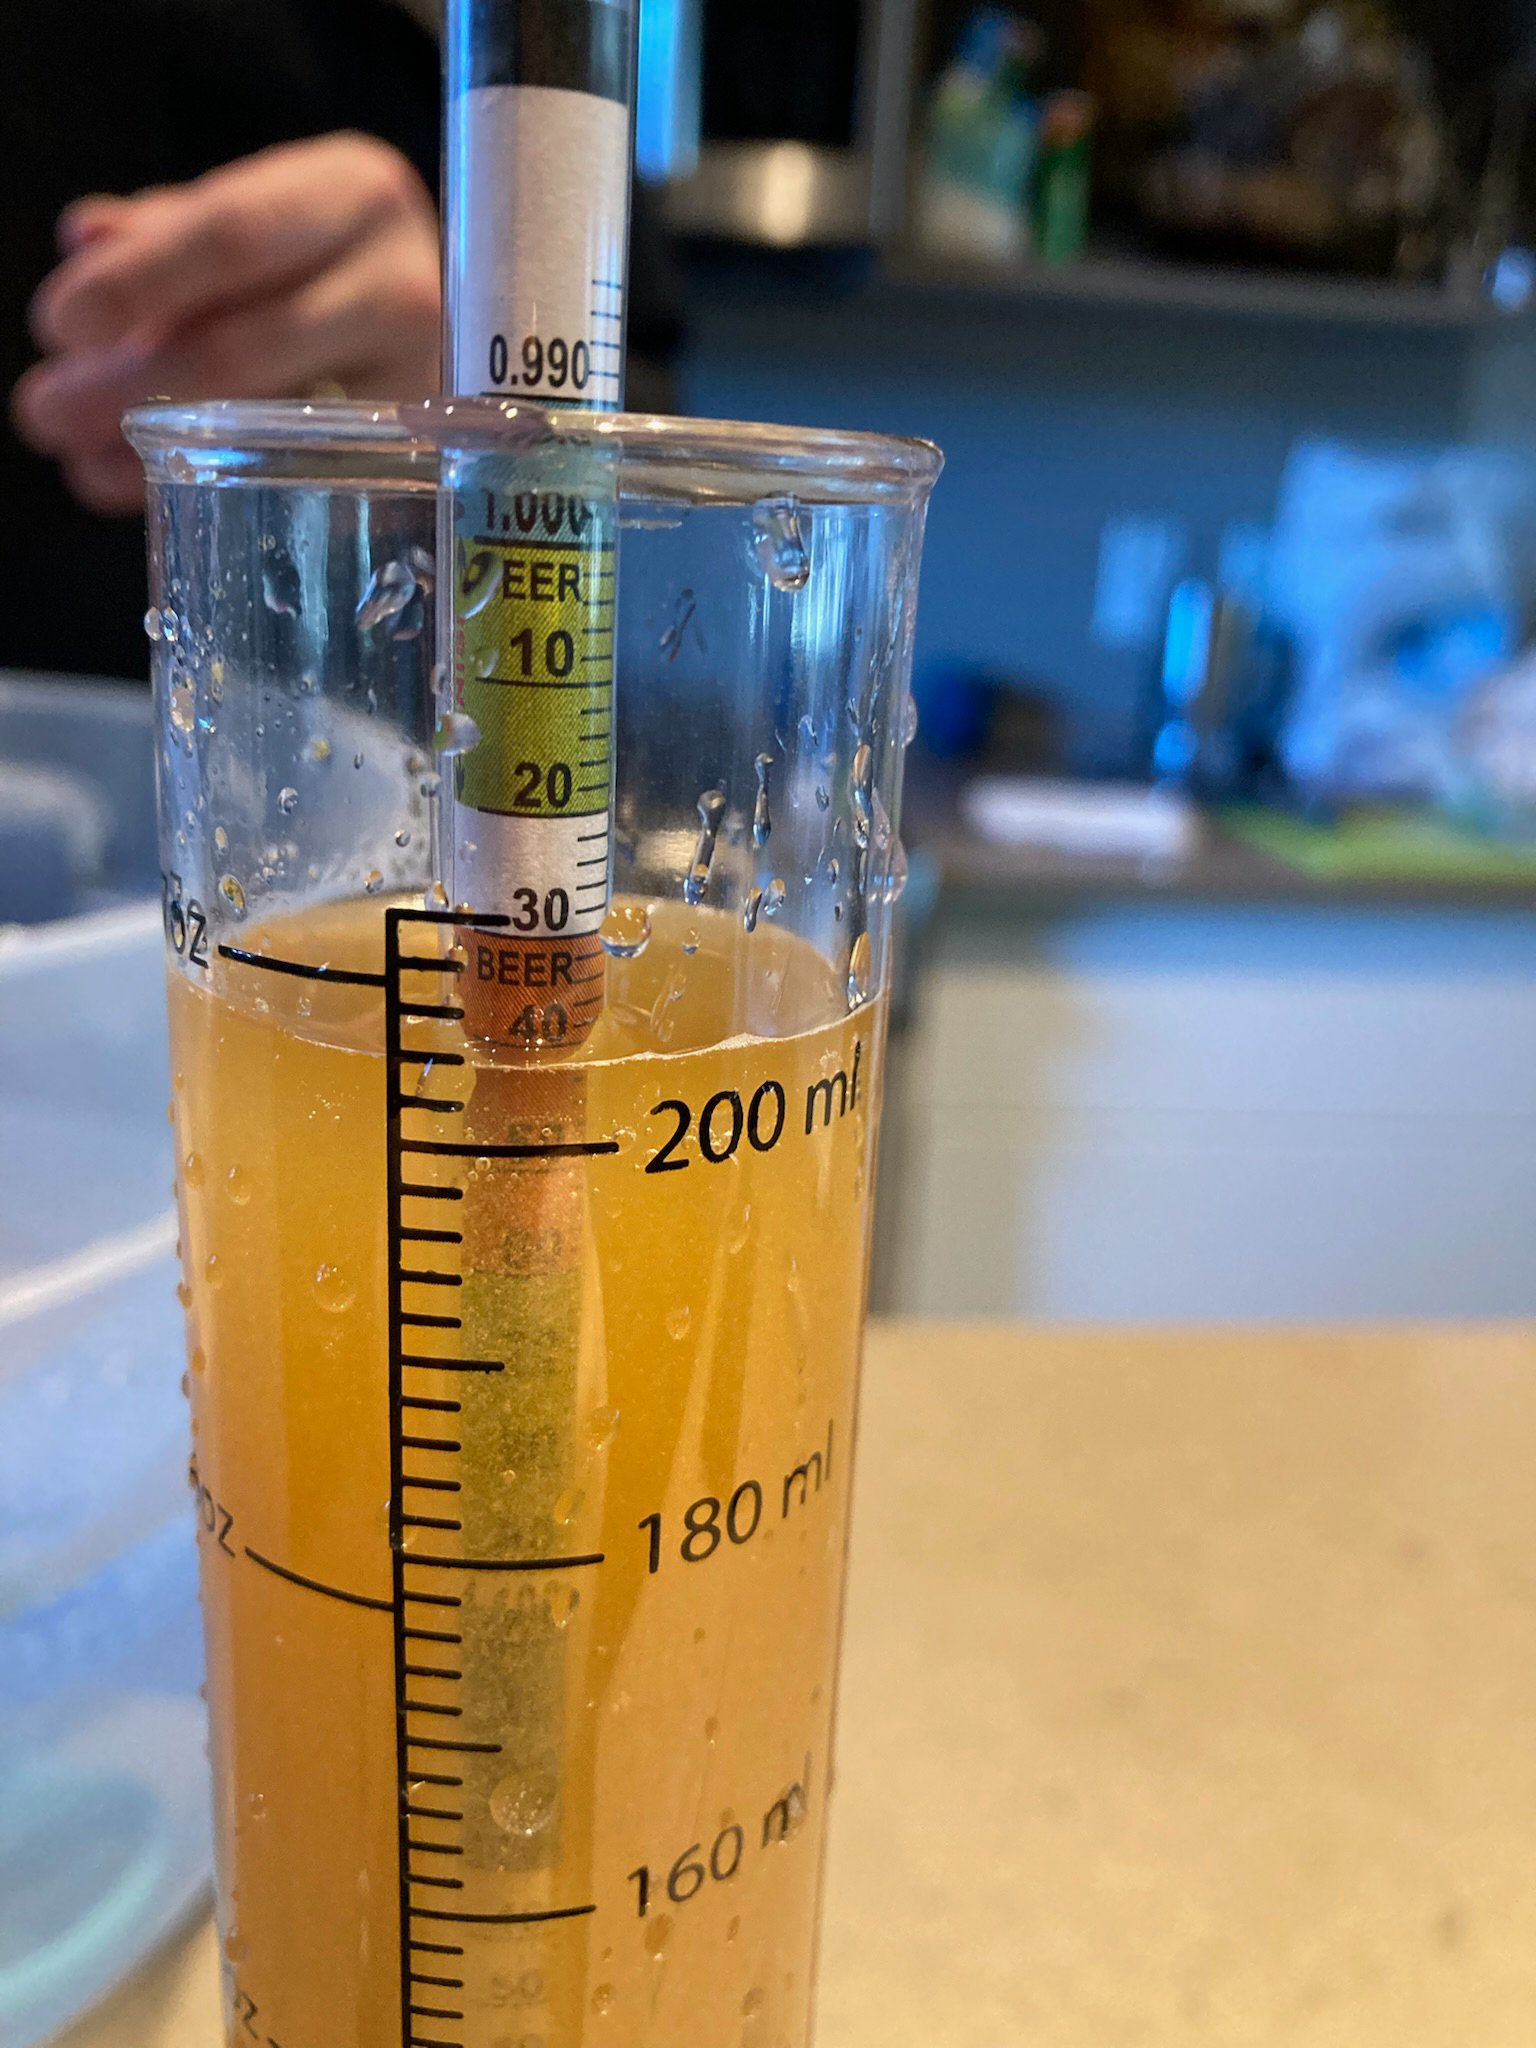
At this stage we had to check the alcohol content again - right on target. We think it was 5.1-5.2%.
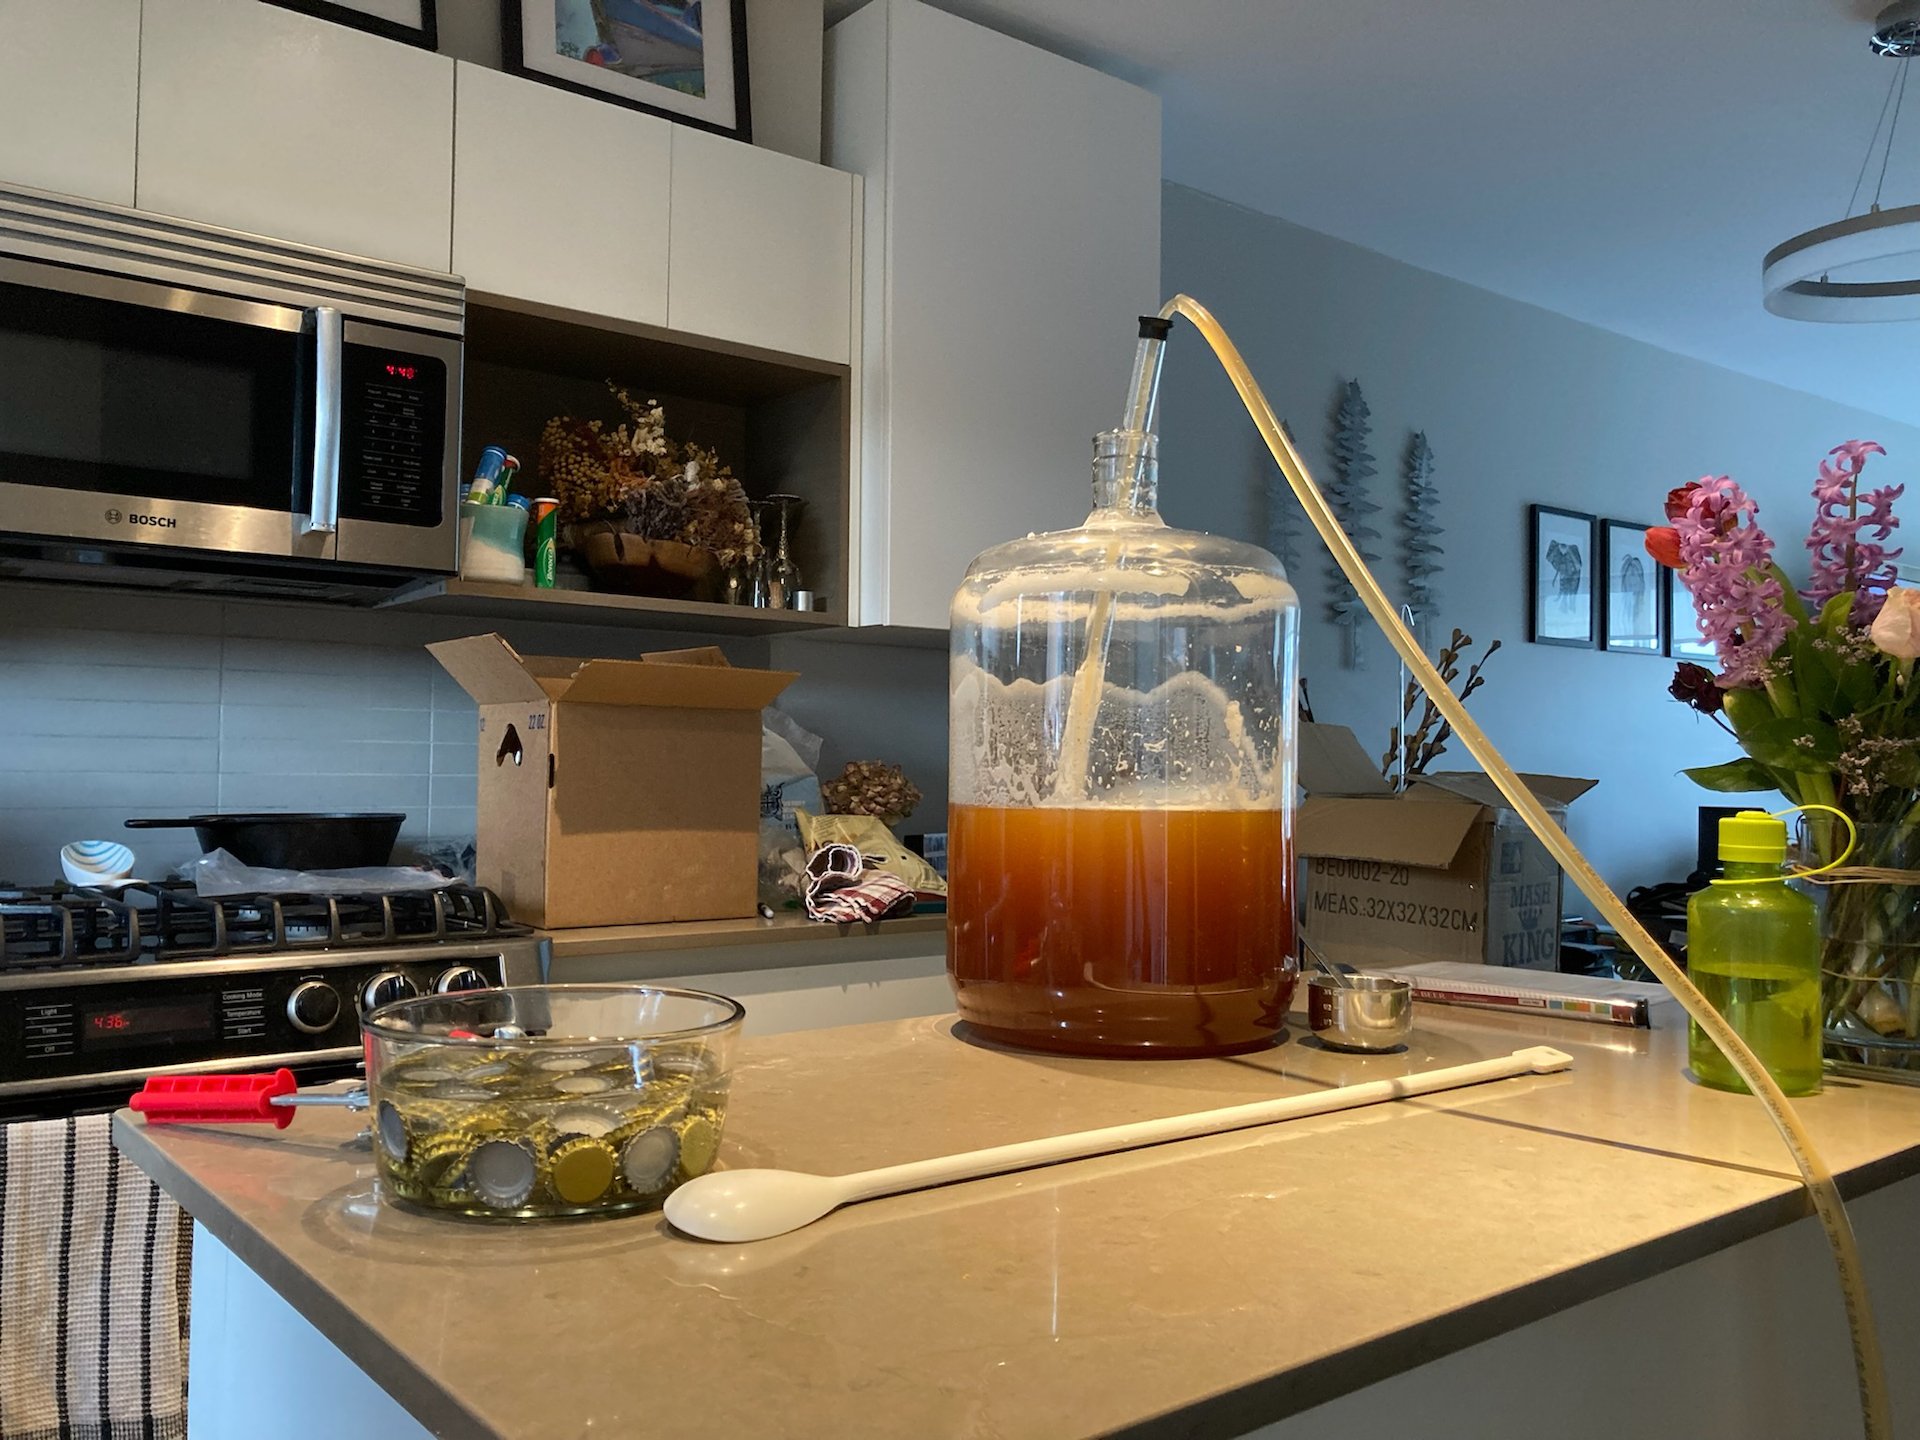
The craboy drained into our bottles.

Sterilizing the bottle caps
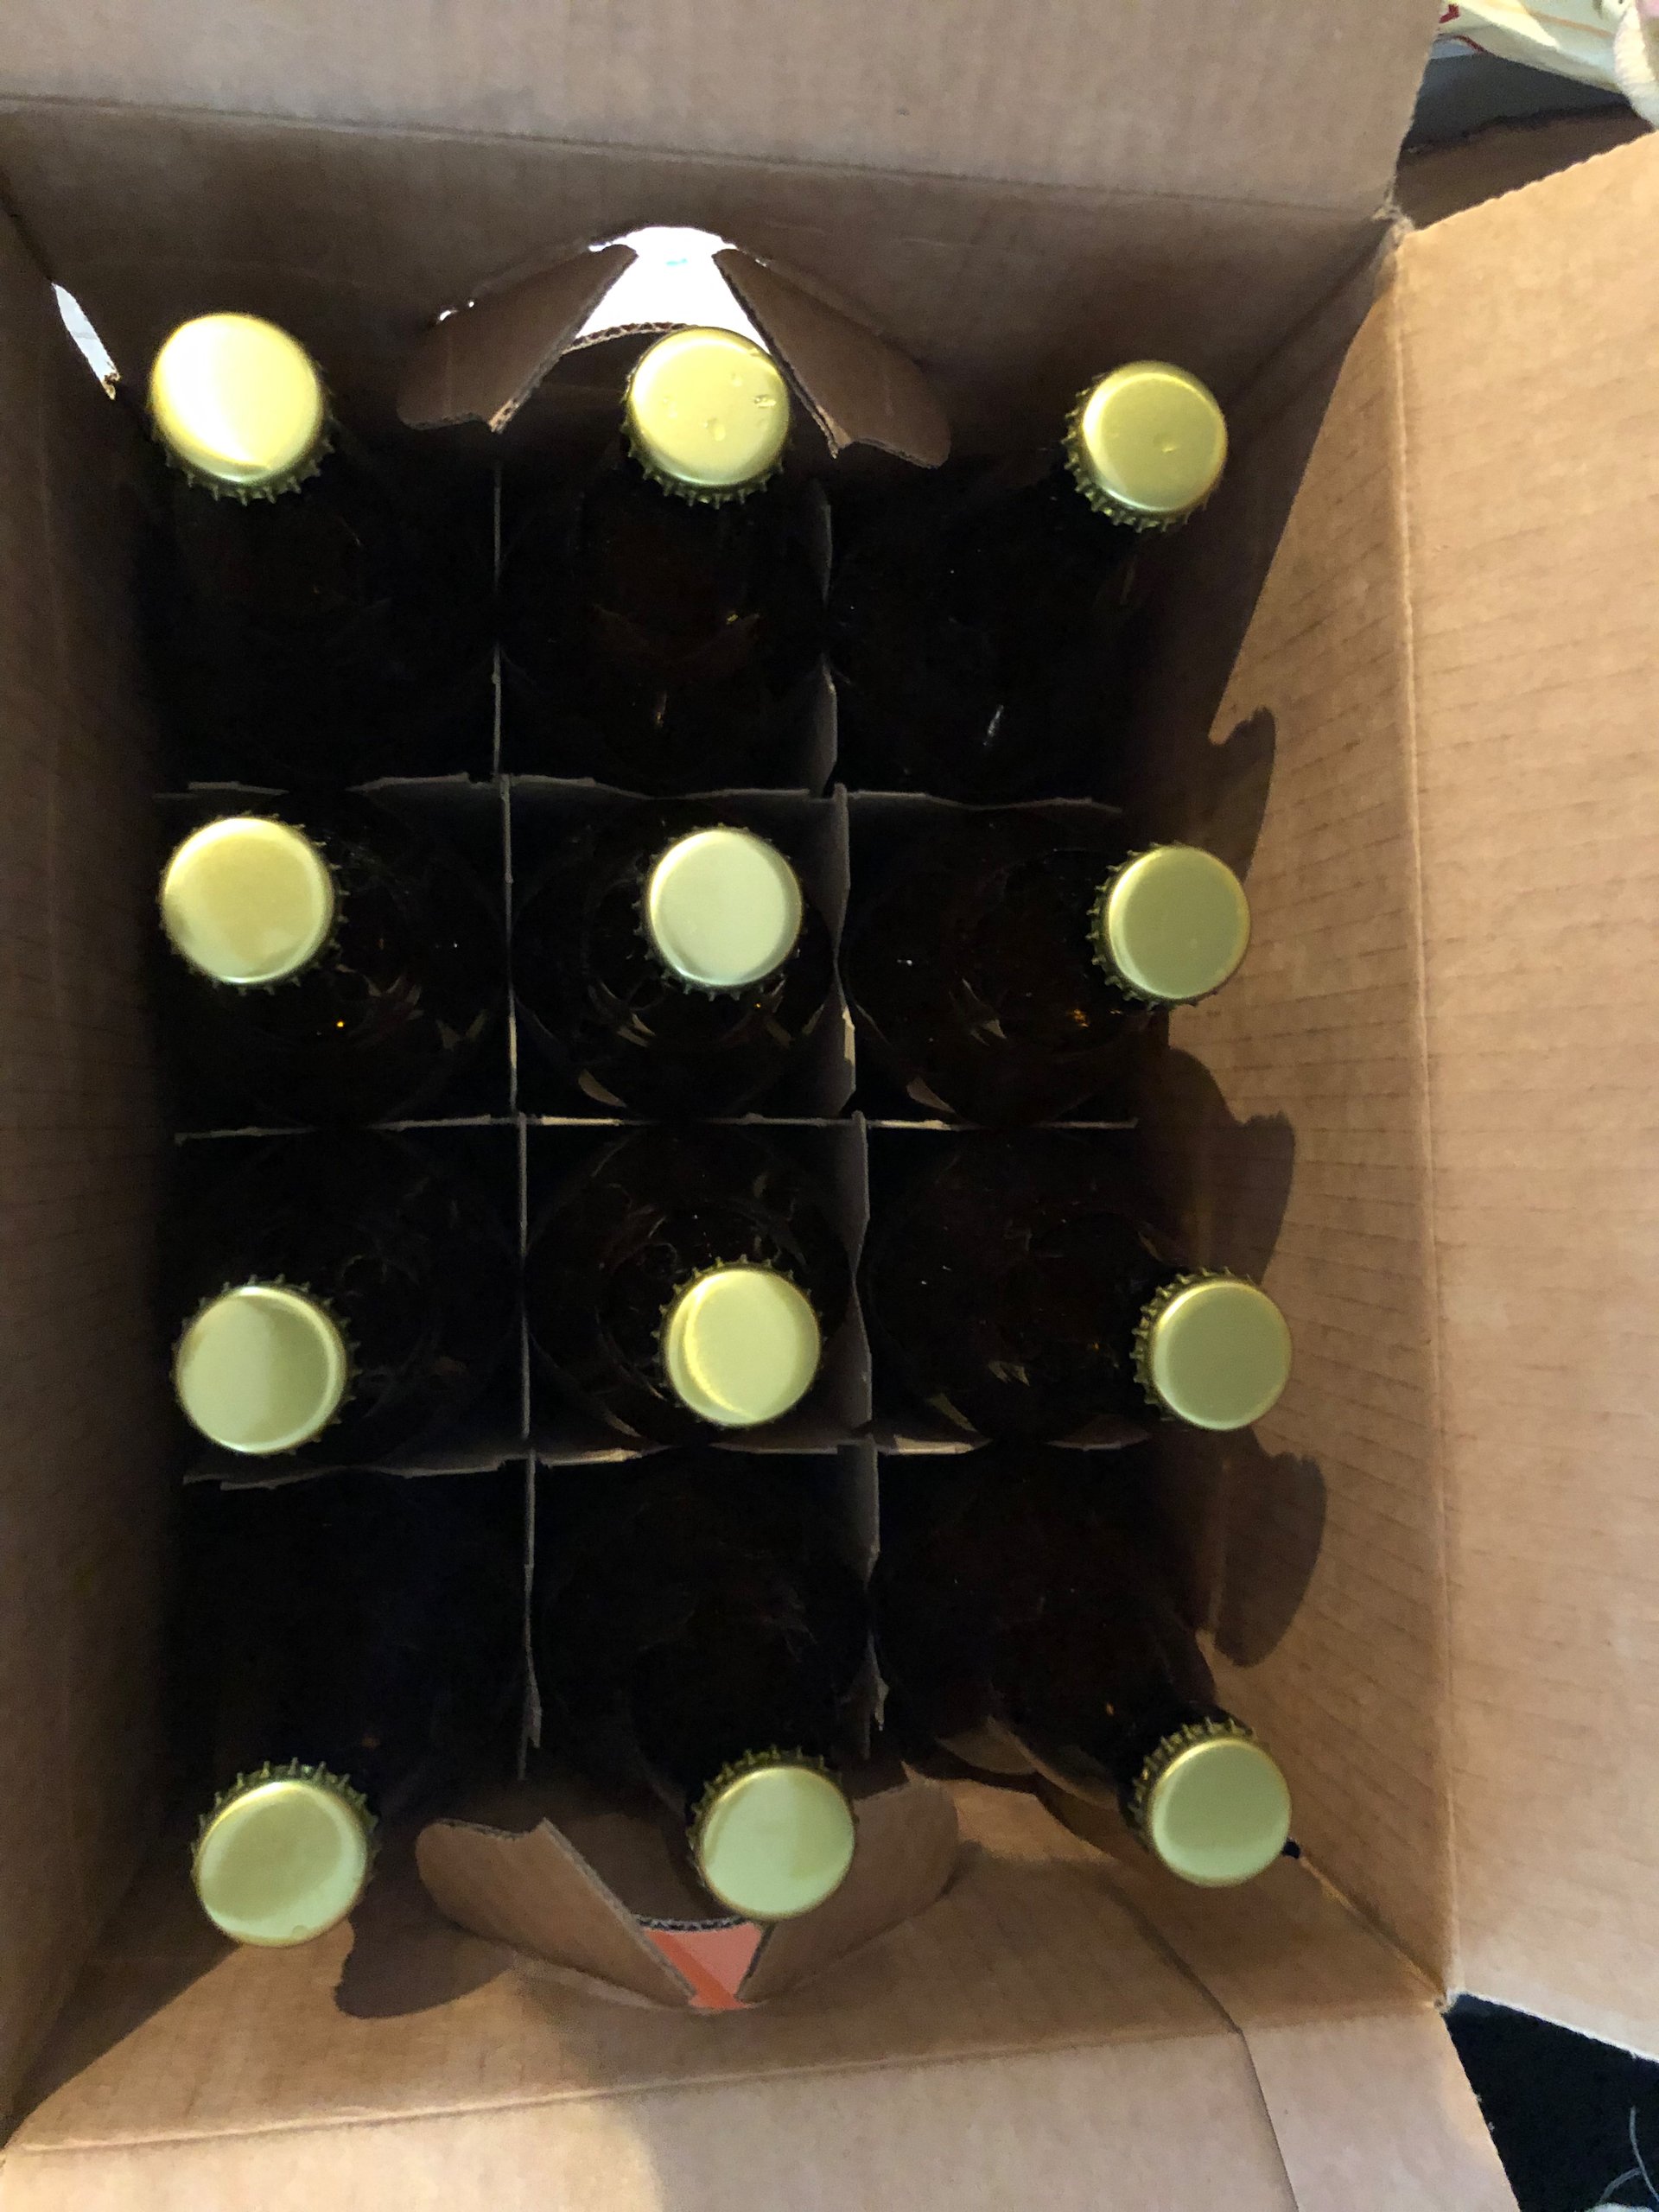
Our first full case of bomber bottles.
But of course we still needed to wait. After bottling, it needs to condition for another 10 days before we could sample the fruits of our labours. I think that’s the worst part - the waiting, and having no idea if what you made is any good at all.
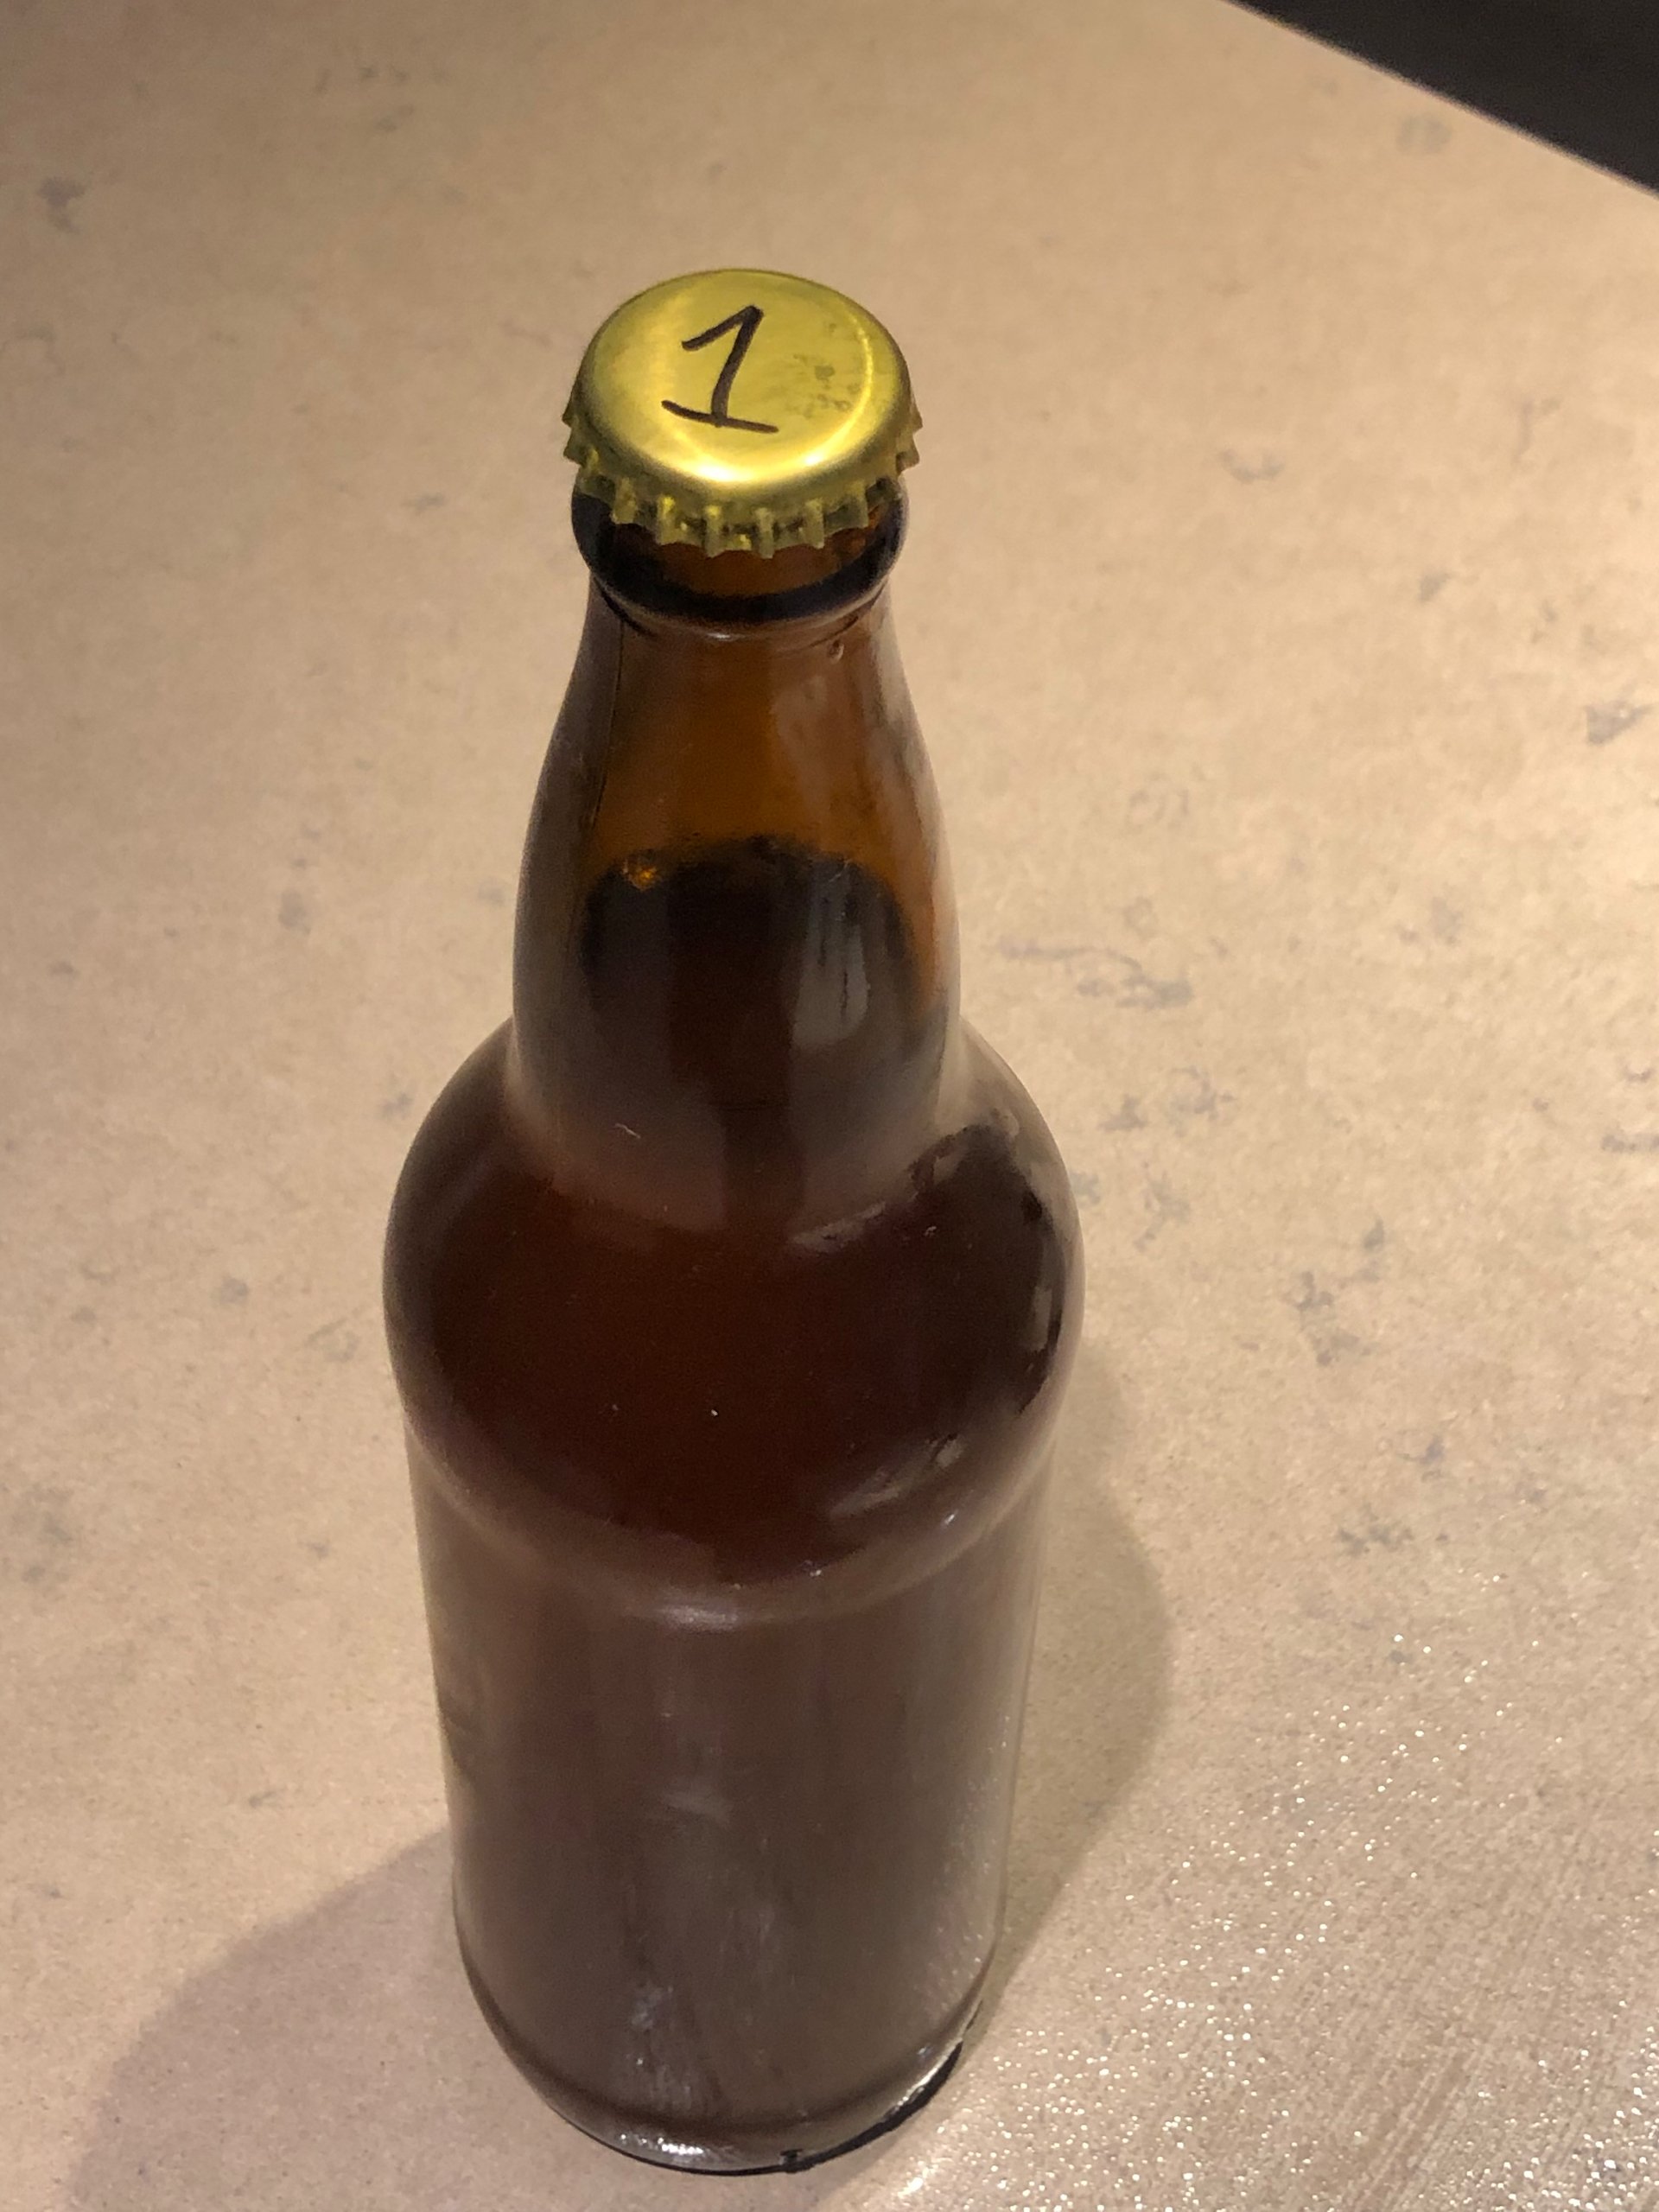
Bottle #1 ready to be sampled!
10 days later we were ready to try our first homemade beer! We were quite nervous. It smelled pretty good and the colour was nice.
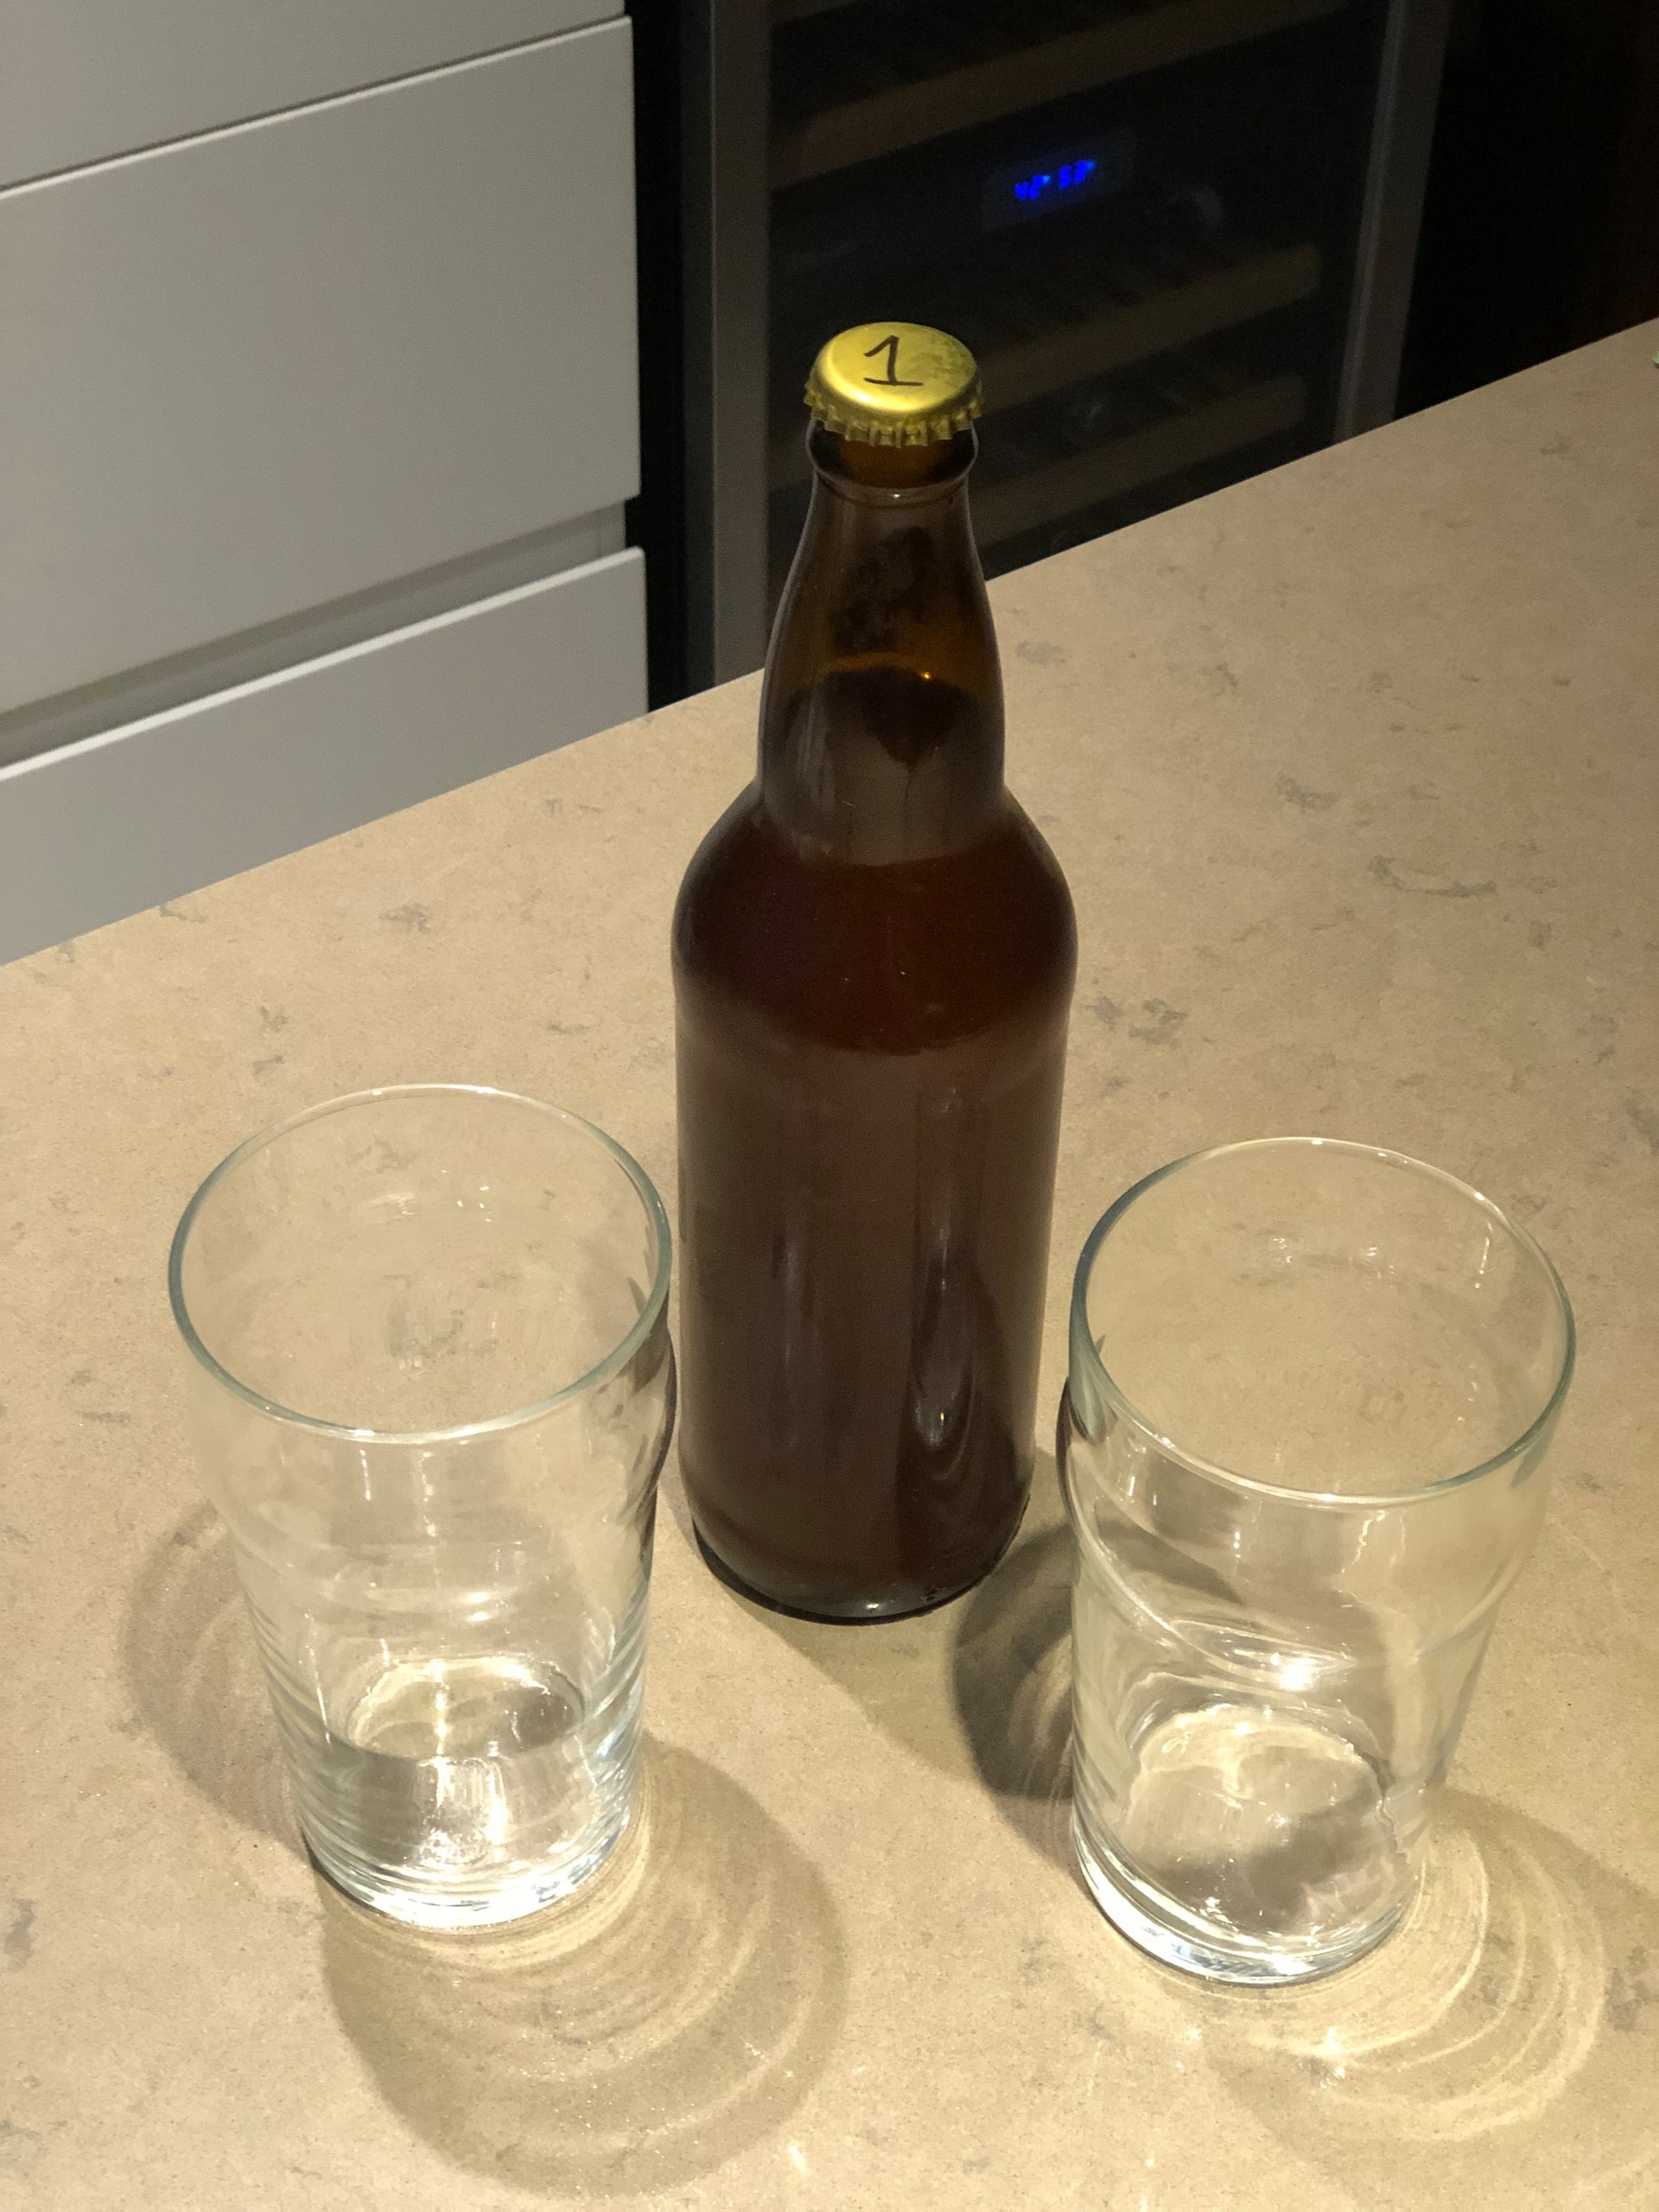
Ready to be poured.

Bottle #1 - the colour still looked good.
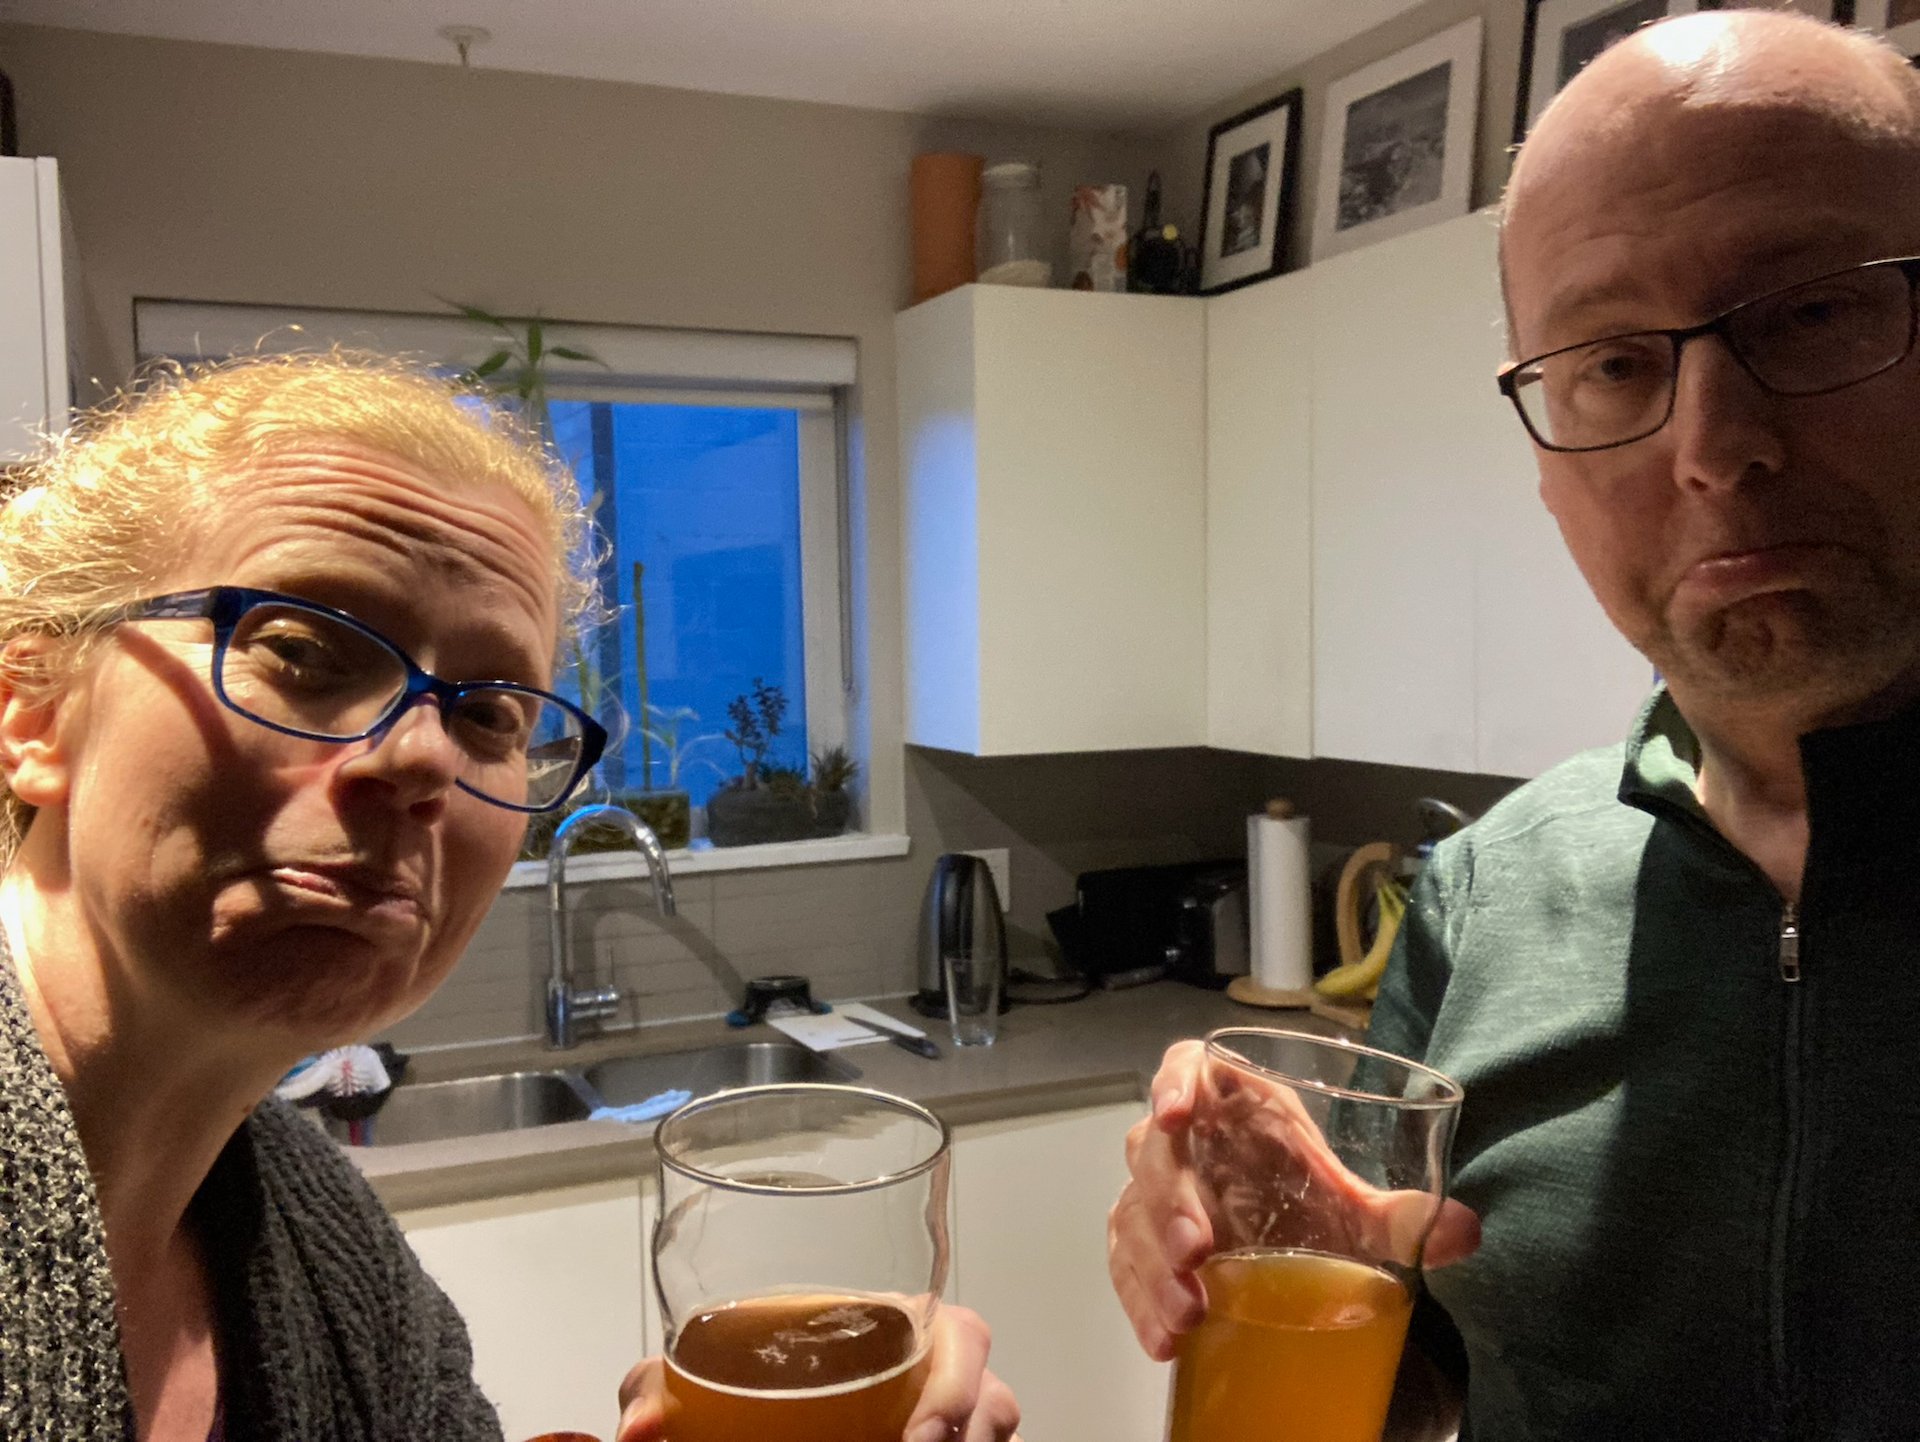
And the results? It was actually pretty good! It’s not going to win any awards, but for a first try it’s pretty good! There’s a nice bitterness to it, and it’s not too hoppy. We’ve probably drank 1/4 of the first batch at this stage. We will certainly try again and try something different.
The process is fun, and it will be an inexpensive if time consuming way to keep us in beer all summer!